


Best Crafting Project Ideas for Your Pet

Finding a project to craft with your pet is the perfect way to step away from daily stress and unwind. To learn more about how you can introduce your pet into the world of crafting, read our top crafting project ideas for your pet.
Peanut Butter Canvas Painting
Time for your pet to paint! Go ahead and let your pup lick the top layer of peanut butter up, down, and all around the plastic bag. The paint beneath the plastic will naturally follow whenever your pup’s snout pushes it. After the peanut is licked clean and the paint is dried, you can remove the canvas from its bag to reveal your pet Picasso’s painting!
Supplies
- Canvas (any size)
- Paint
- Resealable plastic bag (must be larger than canvas)
- Peanut butter or alternative treat
Paw Print Art
Making art from your pet’s paw print is a great way to involve your animal in your next crafting project. Before you begin, clean your pet’s paws with a towel and check for any cuts or injuries. If your pet has a paw print injury, do not apply paint and consult your vet immediately.
Once your pet’s paws are clean, use your favorite palette of child-safe paint to apply to the bottom of your animal’s paw pads. If you are interested in abstract art, let your pet step and stomp wherever they please on a blank canvas or paper. If your pet is more focused on realism, help them paint a field of paw print flowers. This craft is great for letting your pet express their energetic and artistic spirit.
Supplies
- Moist towel
- Child-safe paint
- Blank canvas or paper
Framed Hand and Paw Prints
This craft is simple, easy, and speaks from the heart. First, place a photocopier on the floor or in a location that is comfortable and accessible to both you and your pet. Next, position your pet’s front paws in the middle of the photocopier. Once they are standing still and comfortable, position your palms on either side of your pet. When you are ready, click the copy button and return your palm next to your furry friend. When you finish scanning, you will have a copy of your pet’s paw print and your handprint side by side to the frame.
Supplies
- Photocopier
- Paper
- Frame
Collar Creation
Are you looking for a craft with less mess and more design? Put your crafting talents to the test by making a DIY collar for your pet. First, take a flexible tape measure and wrap it around the base of the animal’s chest above the shoulder bones.
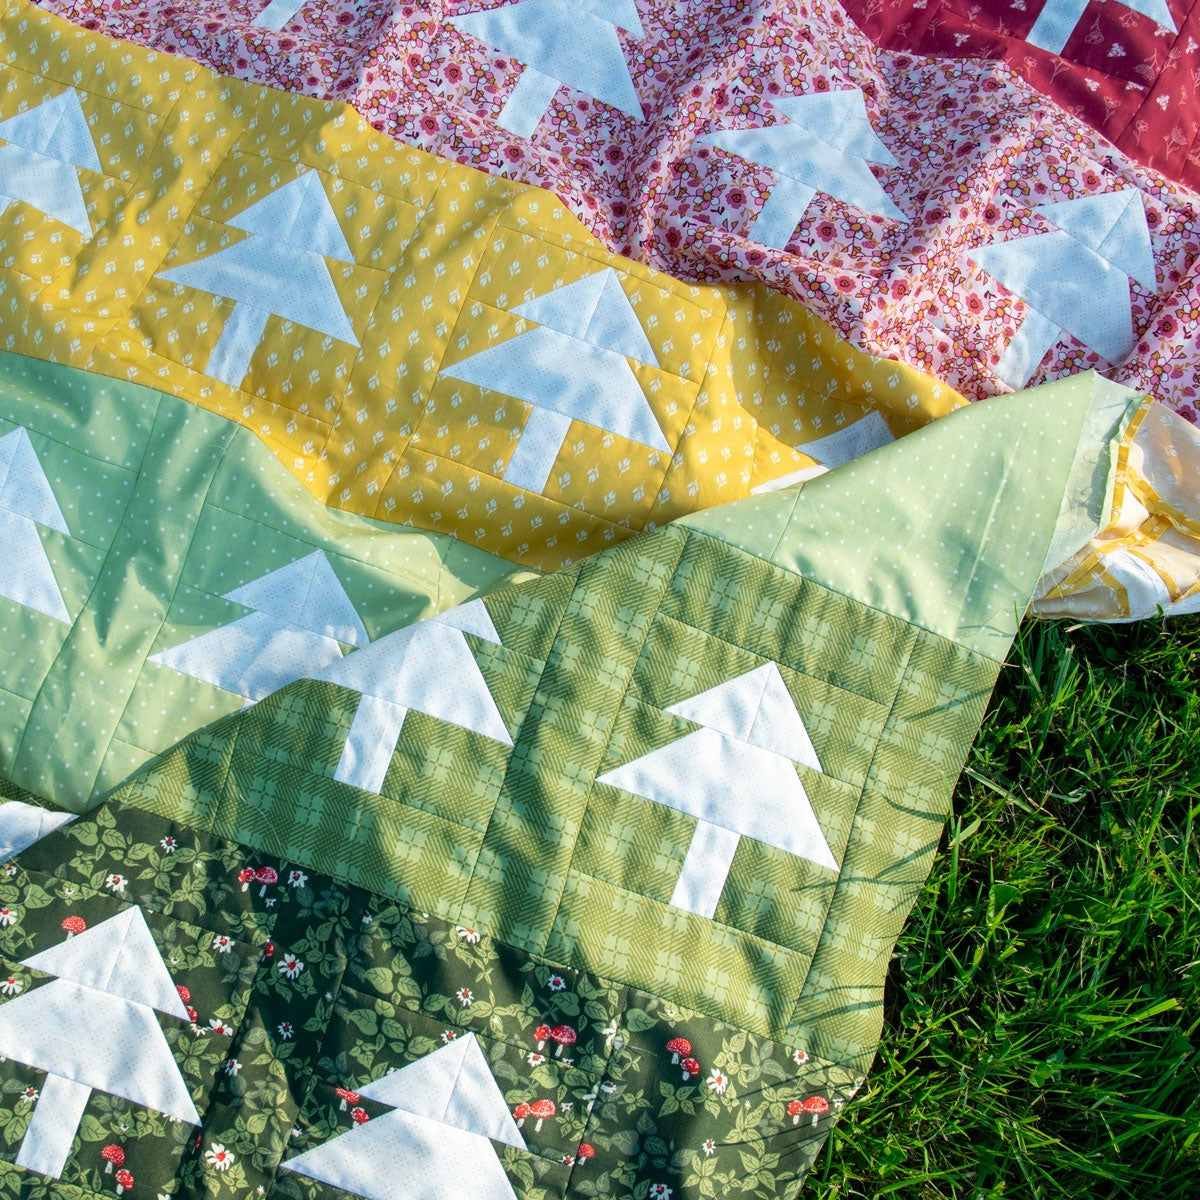
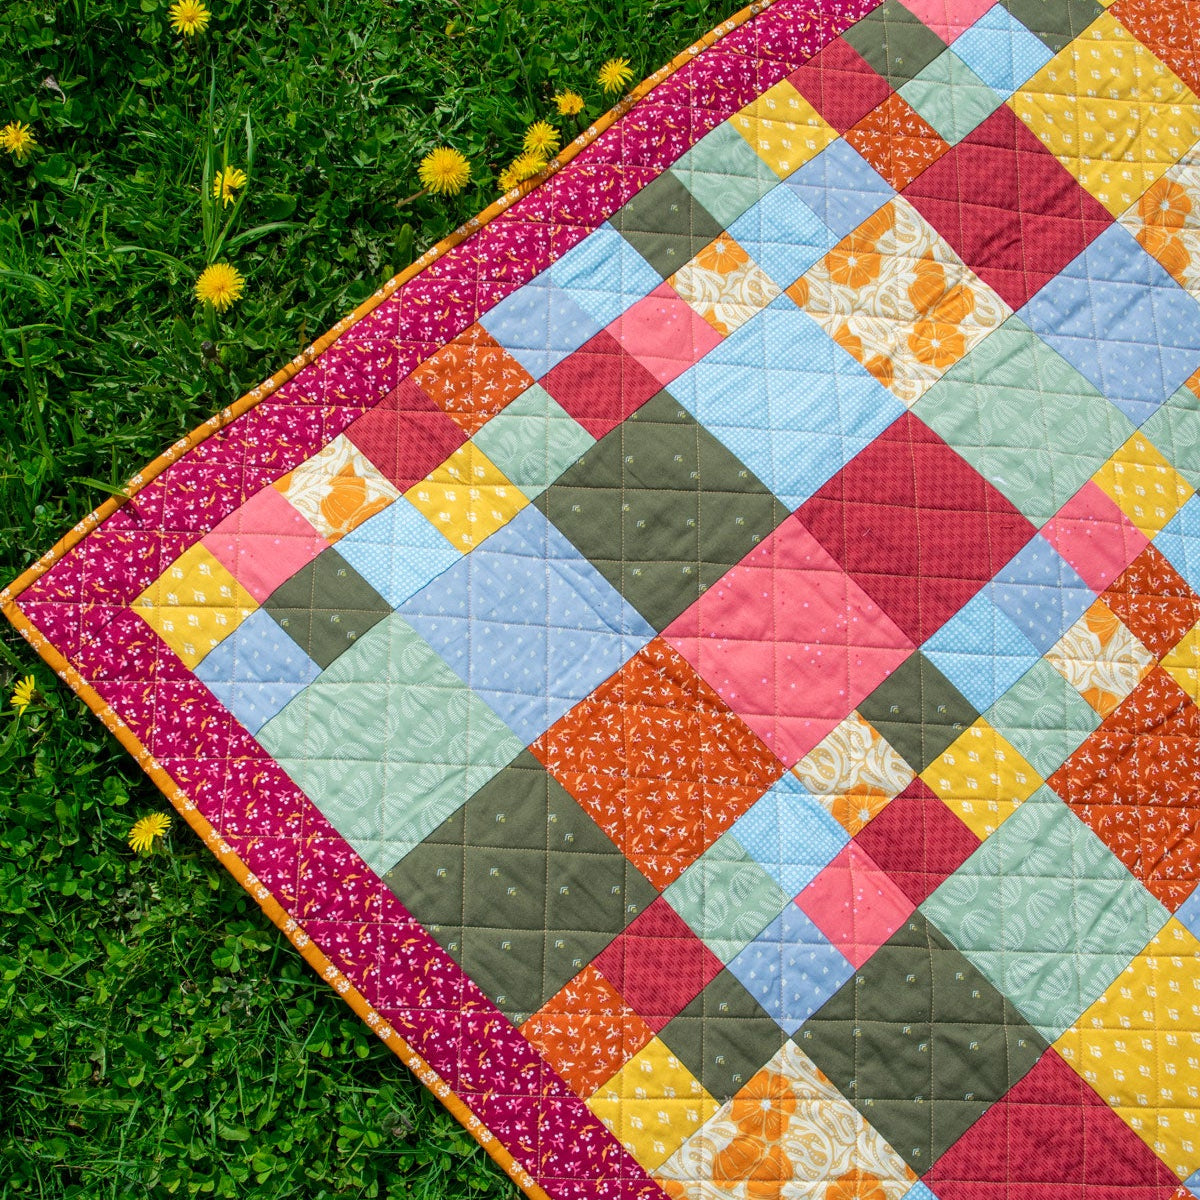
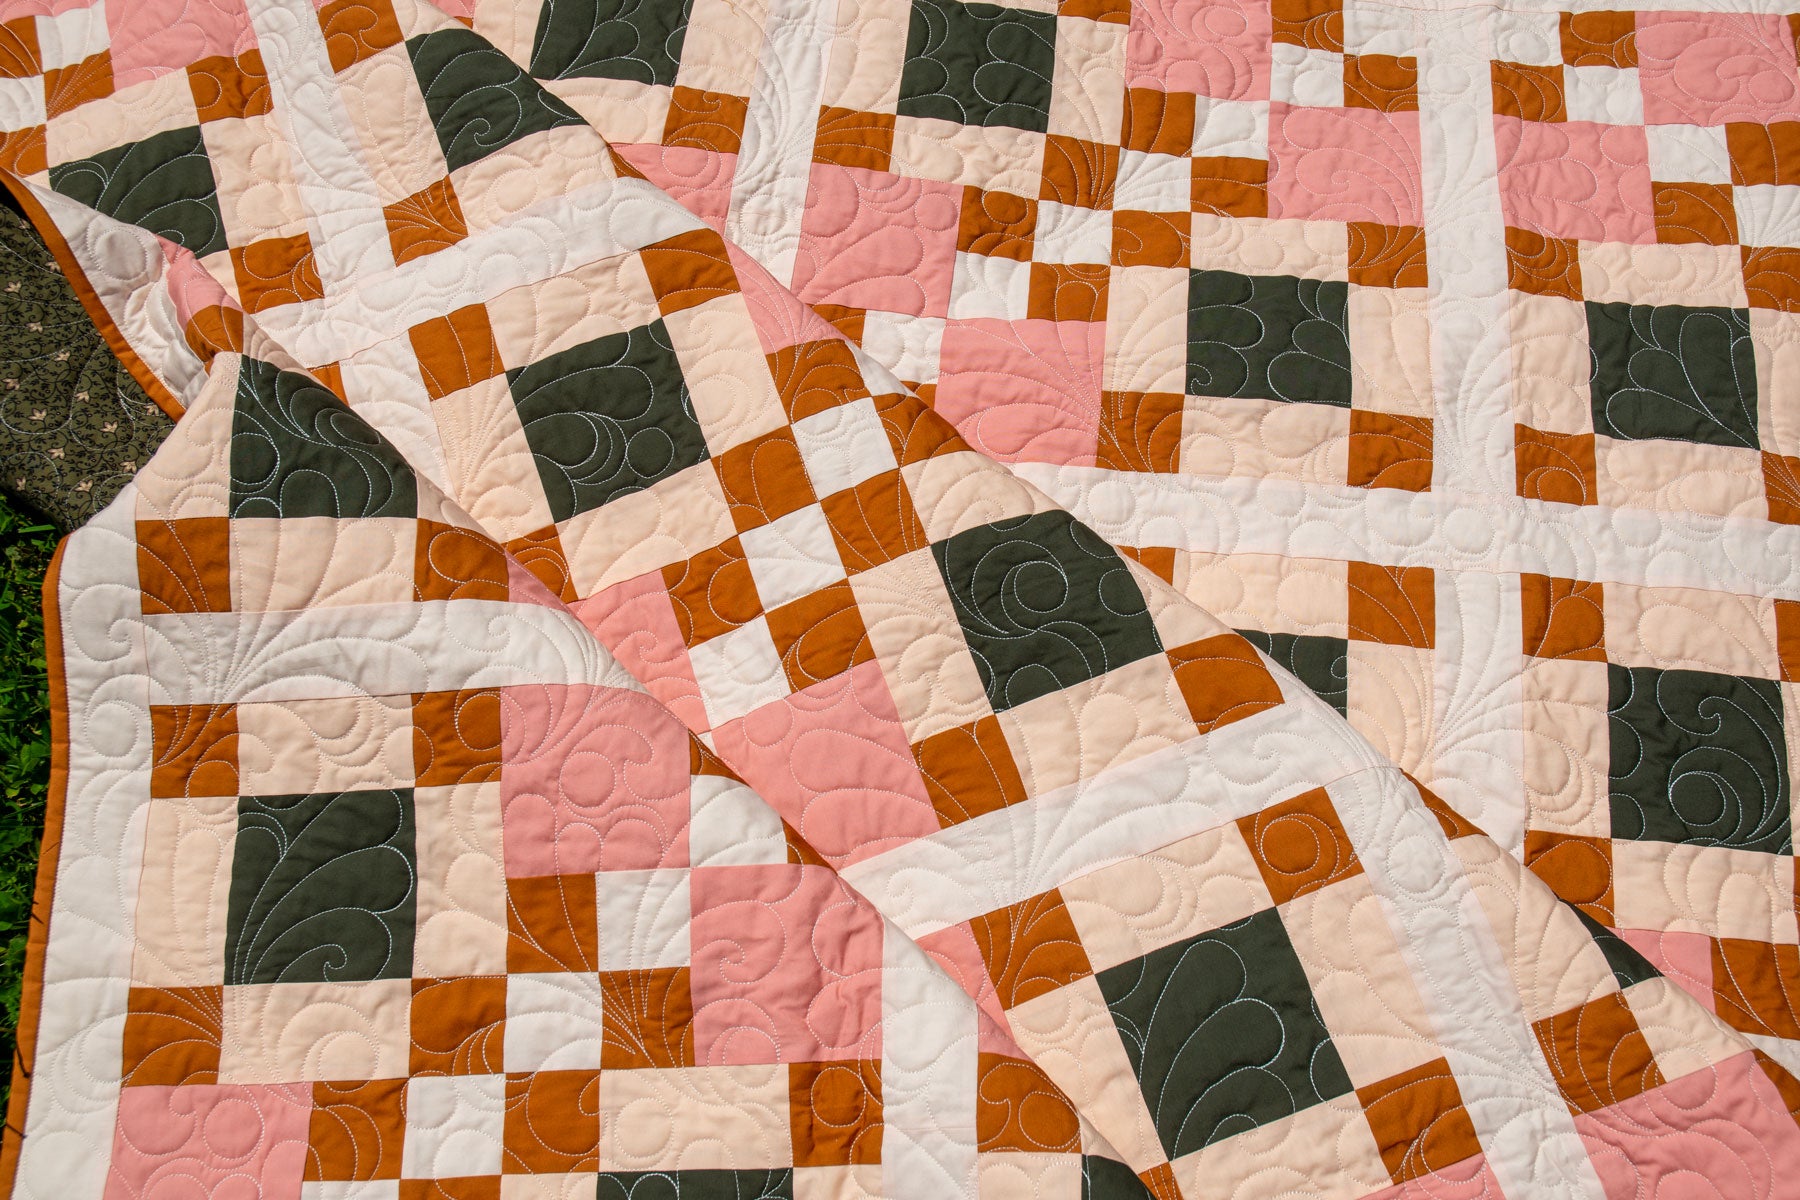
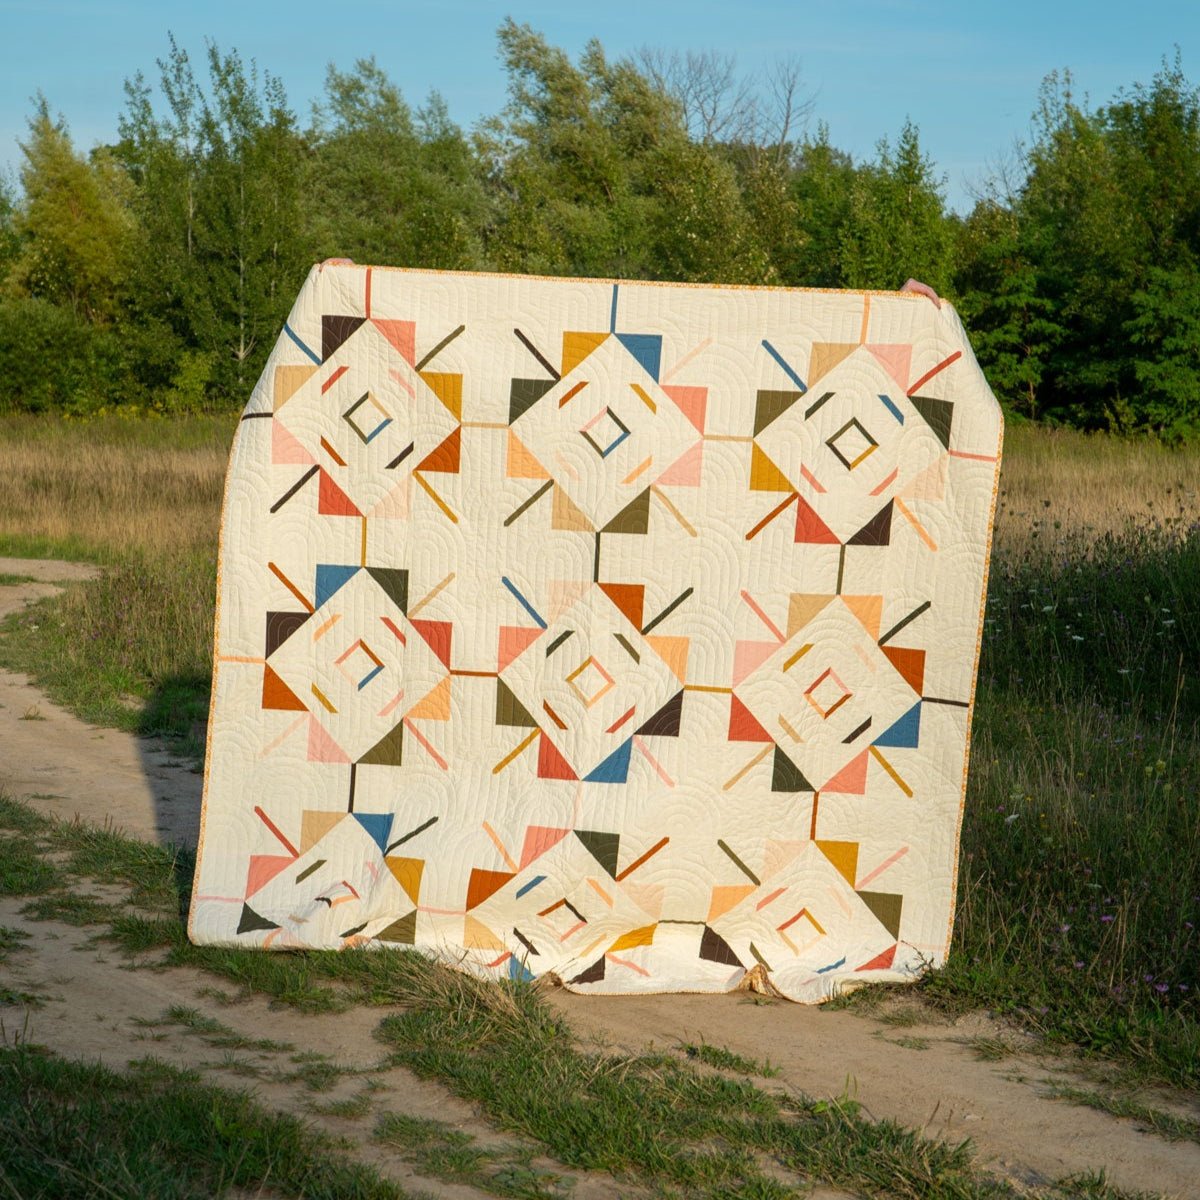
Next, involve your pet by letting them pick their fabric. Lindley General Store offers a wide variety of different batik fabrics and textiles in Canada. These batik fabrics and textiles glow with different colors, prints, and patterns to choose from. Find your favorites and line them side-by-side for your pet to pick!
Once you have your fabric, use the measurements from your pet’s neck to cut the length of your collar. For the width, cut your material to match the width of your nylon webbing. Most nylon webbing straps measure an average of three to four inches.
Next, cut your nylon webbing to match your pet’s measurements. It is recommended to first iron your fabric to remove wrinkles and improve collar quality. After you prep your fabric, you will use a sewing machine to sew the material into a long sleeve. Remember to leave space while sewing to insert your nylon webbing inside. Once your webbing can easily fit inside your fabric sleeve, adjust the seams to align against the inner webbing.
Next, sew the inner nylon webbing and outer fabric together twice down the collar's entire length. Grab a tri-glide slide and slip the collar under and over the tri-glide to create an adjustable strap in your collar. Next, slide your collar under and over the pronged side of your buckle piece to secure one side of your collar’s buckle.
To assemble the second half of your collar’s buckle, slide a D-ring through your collar strap. Next, pull the collar strap through your buckle until you have three to four inches of excess strap to help keep your buckle secure. Once you are happy with your collar measurements and fit, you successfully created your pet’s homemade collar.
Supplies
- Nylon webbing strap
- Buckle
- D-Ring
- Tri-glide slide
- Sewing machine
- Iron
- Flexible tape measure
- Scissors
- Batik fabrics
Cat Brushing Station
Looking for the best crafting project idea for your pet but prefer to avoid a mess? Craft with your cat by making a T-shirt tent. First, cut the top hooks off two wire hangers. Next, bend the wire hangers until they are curved into an arched shape. Next, take one 15x15 square piece of cardboard and poke a hole into each corner.
Once your holes are punctured, fit each end of your wire hangers into the cardboard holes until they are secure. Next, you will cross the two hangers diagonally until they are perpendicular to each other. Once they are securely in place, tape them together where they intersect at the tent's peak.
Now grab an old shirt and pull it over the tent frame. Position your shirt so the neck is at an accessible spot for your cat to enter and fold the excess fabric back. Use safety pins, tape, or other supplies to adjust material around the tent as needed.
In a few simple steps, you have created a new and upcycled space for your furry friend!
Supplies
- T-shirt
- 15x15 square of cardboard
- Two clothing hangers
- Safety pins
- Tape
Making memories is simple when you find time to craft with your pets. Whether you are searching for challenging DIY projects or prefer to watch your dog lick peanut butter and paint, endless crafting supplies and creative ideas are available at Lindley General Store. Browse through countless pages of baking, painting, and sewing crafts, and bring your pet along!


Comments