The Different Types of Hand Stitching
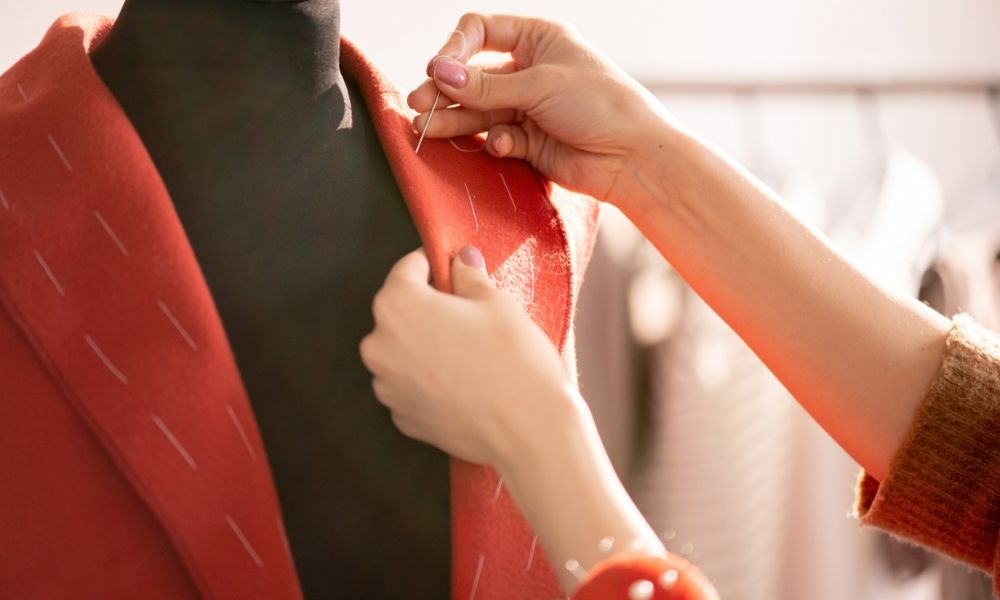

As a crafter, you’ll recognize that you have a ton of different pathways to follow. You could choose to crochet, build, create, or paint—the options quite literally have no limit. Sewing is one of those pathways. Within sewing, you can explore even more from the different needles to sorting out hand versus machine sewing. When it comes to stitching your project—crocheted, sewed, etc.—the depths of the crafting world get even more diverse. If you want to refine and transform your next sewing project, take a look at our short guide to the different types of hand stitching. Take your piece to the next level!
Running Stich
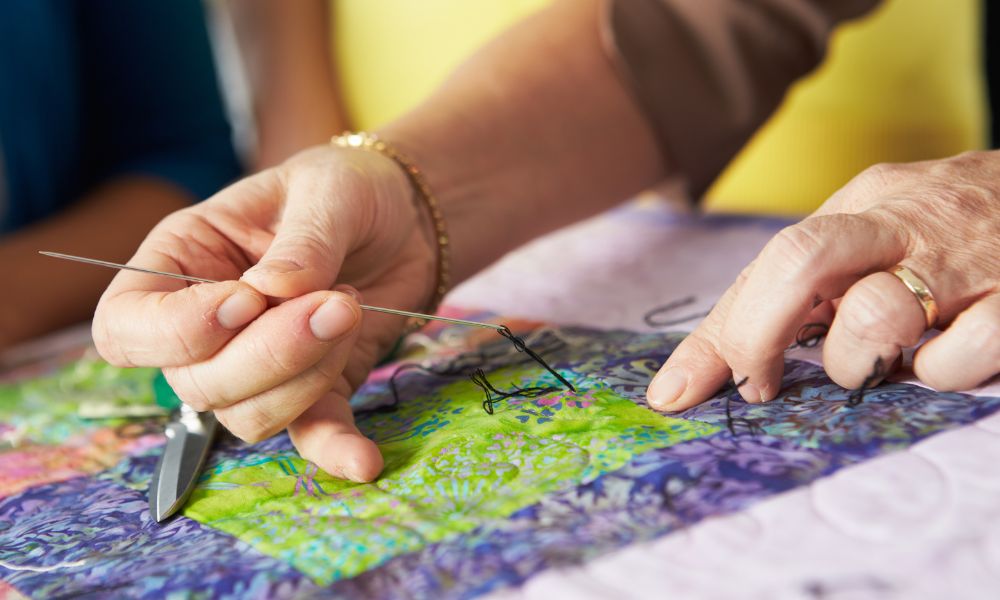
This is your most basic sewing stitch for both hand and machine sewing. It’s quite simple—thread the needle through the back of the fabric, and once the knot in the thread hits the fabric, lead the needle back through the other side of the fabric about a centimeter away. Then you can bring the thread back up and down through the fabric—it provides a great way to learn basic sewing techniques!
Basting Stitch
Just like the running stitch but a bit longer; instead of having just about a centimeter in between each stitch, you’ll go about ¼ inch to ½ an inch apart from each other with the basting stich. Again, this is another great stitch to try out for beginners, and it tends to go a bit faster as well.
Blanket Stitch
Also known as the buttonhole stitch, this stitch works perfectly for any clothing pieces with eyelets or buttonholes, and it’s also great for those quilters who like to add a creative flair to their pieces.
For this stitch, you’ll push the needle through the back of the fabric and pull all the way through until secure. Then, instead of bringing the needle through the top of the fabric like in the running stitch, you’ll bring the needle through the back of the fabric again—in the same spot. This creates a loop for you to put your needle through; you’ll continue on from there.
Slip Stitch
A slip stitch works the best for those hemming their clothes who don’t want to see the stitches. It’s quite a tidy stitch, but if you just start trying it out, you’ll want to keep your stitches pretty loose.
For a slip stitch, bring the needle through the fold of your hem and pick up a thread from the fabric at the same point. Make sure not to pull the needle all the way through the fabric, and instead pull the needle back into fold near where you first drew it out.
Whip Stitch
This stitch is used in both sewing and crocheting! It’s typically used to sew together two separate pieces of material and looks pretty hidden.
For this stitch, you’ll insert your needle in between the two fabrics, keeping the knot hidden. Then you’ll bring the needle through both fabrics in about the same hole as the first puncture—this will create a loop that you should pull snugly. You’ll then bring the needle through that same hole as before, but angle the needle so that comes out about an eighth of an inch away from before.
For all your crafting needs, make sure to turn to Lindley General Store. We have everything from crochet supplies to seam rippers and thread. We’ll help take your project to the next level—upgrade your crafting game with Lindley!




Comments