


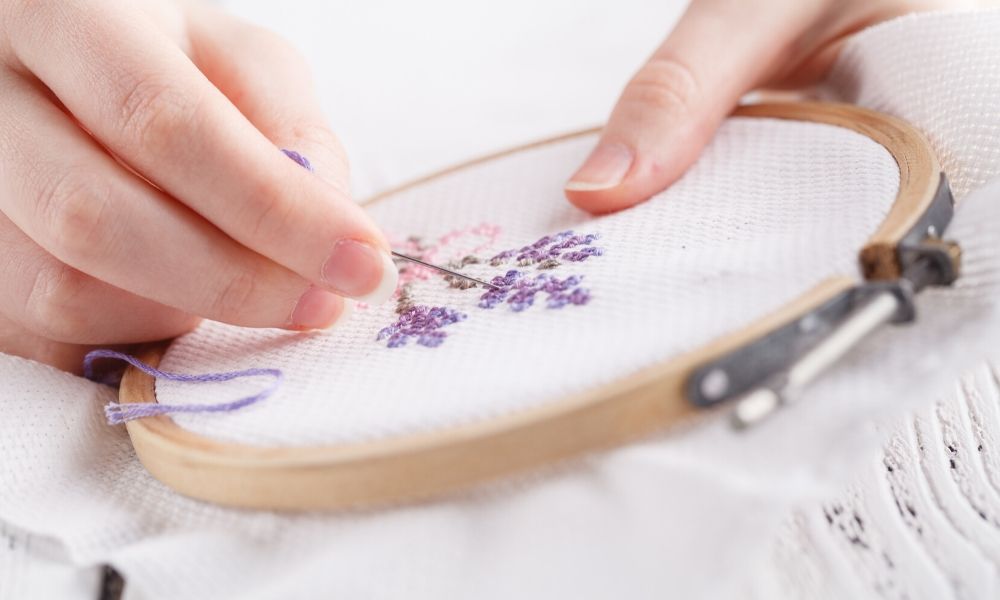
Tips for Learning How to Embroider

There are tons of outlets for creativity. There’s writing, painting, knitting, dancing, singing—the options are endless. For a lot of people, crafting is a way to let the creativity out and step into a place of deeper reflection and calm. In the realm of crafts, there’s a wide range of stress-relieving and creativity-boosting activities to try. We’ve talked in previous posts about the power of knitting, crochet, and needle tatting. Today, we’re going to dive into the world of embroidery.
It’s a relaxing and creative outlet, and with enough time and patience, you can end up creating a beautiful masterpiece. Learning doesn’t have to be difficult—simply follow our tips for learning how to embroider, and you’ll be on your way to enhanced stitching. Check it out!
Get Quality Tools
Before you get started, you need to make sure you have the best tools. You’ll get frustrated fast if you buy cheap floss and blunt needles. If you’re certain that you’re going to like embroidery, then think about getting a wide variety of colors for your floss and different-size hoops and frames. If you’re not so sure, grab only a few colors of floss and a medium-size hoop so that you have a large enough workspace.
Needles
Seems obvious enough, but you can’t embroider without a needle. These are a bit different than your regular sewing needles—they’ll have a sharp tip and larger eyes to fit the thread. It’s important to note that different fabrics and types of embroidery will require different needles. To start, use chenille embroidery needles.
Hoops
Beginner embroiders should always start out with a good hoop. They come in a variety of sizes and materials, but wooden and smaller hopes will give you better tension. Remember—if you aren’t planning on keeping the fabric in the hoop, you’ll want to remove it from the hook once you’re done for the day to avoid creasing.
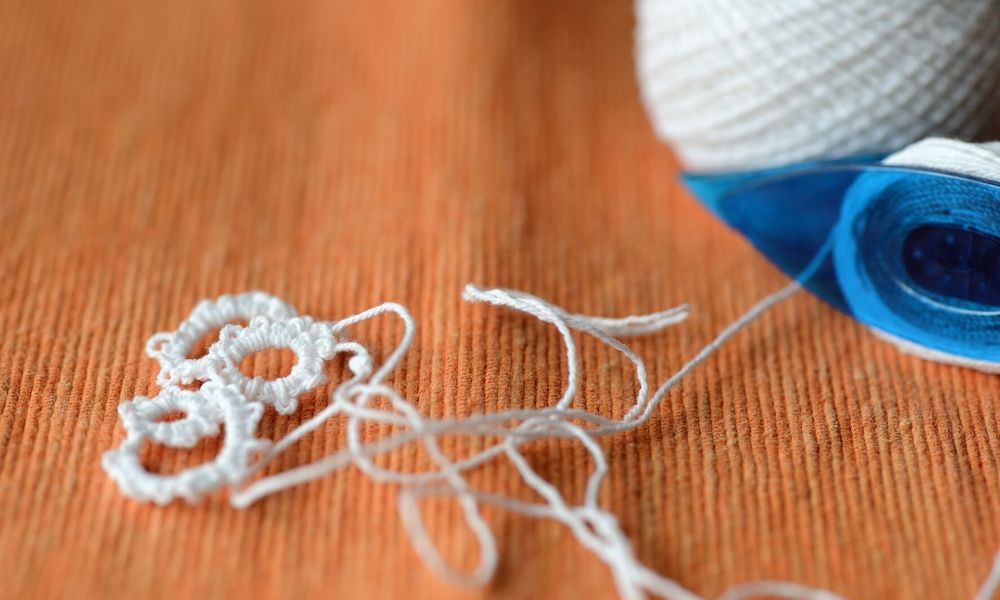
Floss
Embroidery floss comes in various colors, brands, and materials. Most patterns will call for a six-strand cotton embroidery floss. Once you get comfortable, you can try expanding to different materials.
Scissors
Don’t forget about scissors when you’re picking up your tools. They’re not as essential as the needle, but a good pair will make your learning experience much easier. You don’t want to get frustrated when the blades don’t cut your thread. Smaller scissors work better for small projects like these!
Learn How to Transfer a Design
Once you’ve got all your tools, you need to learn how to transfer your design. There are preprinted fabrics to use, but if that’s not exactly what you’re looking for, you can try some other transfer options. Use a water-soluble fabric marker to trace a design onto the fabric. You can also iron on designs for darker and thicker fabrics.
Decide on Your Base Fabric
In the realm of fabrics, you also need to decide on what base fabric you want for your project. As you get more into the craft, you’ll discern which base fabrics work best for you. For beginners, however, start with 100 percent cotton, linen, or fiber blends. You want a fabric that will stay stable; otherwise, the entire pattern could warp when not paired with a stabilizer.
Set Up Your Needle and Floss
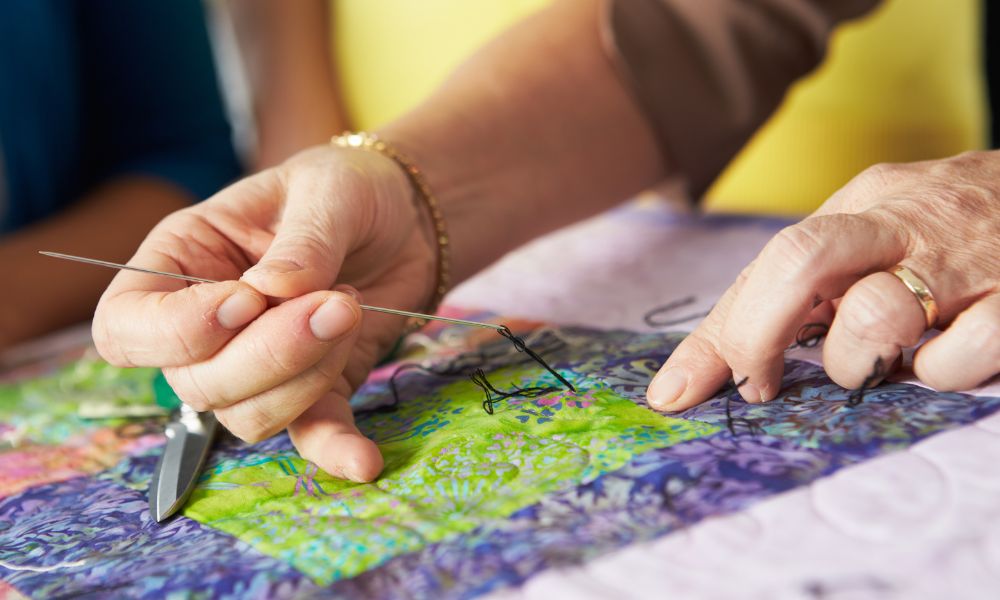
Once you’ve sat down and your hoop is all set up with your fabric, you have to thread your needle and anchor the floss. The cut piece of floss you use shouldn’t be any longer than two feet in length; otherwise, it’ll tangle. Sharpen the end of your floss with a quick lick and snip of the scissors and then thread the floss through a needle with a large eye.
Once you’ve done that, you need to anchor your floss. Anchoring your floss will make sure that your embroidery doesn’t unravel. Though it may not be as important for a project that will be sitting pretty on a wall, especially in comparison to embroidery that’s on clothing, anchoring is still a good idea. Simply hold a tail of floss under the embroidery while you make your first few stitches. Then move the tail so that it’s tacked down by the subsequent stitches. Doing this every now and then will secure your work—just make sure to keep the backside of your work as neat as possible.
Select Your Stitches
When it comes to the actual process of embroidery, there are dozens of stitch choices. As a beginner, you really only need to know two—straight and backstitching—until you get the hang of it. We’ve included some simple explanations on these two stitches below.
Straight Stitch
This stitch is so basic, you probably know exactly what to do without even “learning” it. Bring the needle up through the fabric at your desired starting point. Then insert the needle into the fabric at the opposite end of the stitch. You’ll use this in a variety of patterns!
Backstitch
The backstitch is another important one to learn for embroiderers—it’s used in almost every project. It’s worked from right to left and is the method you should use to create solid lines. Start a stitch a length away from the beginning of your line. Come up at point A, then back down at point B, or the start of your line. Then stitch up a length farther than point C, then back down at point A. Any gaps will be filled by the next backstitch.
Take Your Time
Probably the biggest tip for learning how to embroider is to take your time. Needlework is supposed to be a calming experience, so if you make a mistake, pull out the stitch and try again. Start with simple projects and patterns and build up your abilities and confidence from there.
Finish Your Piece
Once you’ve finished your piece, your embroidery may need to be rinsed or soaked to remove markings. This is why it’s important to make sure that the floss you get won’t run; otherwise, your piece will exhibit a watercolor effect. The simplest way to finish your work is by framing it in your hoop, trimming the excess fabric, and admiring your work!
For all of your crafting needs, turn to Lindley General Store. We pride ourselves on our variety of crafting tools. We have everything you need—embroidery supplies, quilting fabrics, crochet thread, and knitting and tatting needles in Canada. Let Lindley take your learning experience and projects from beginner to exceptional—check out our store now!

Comments