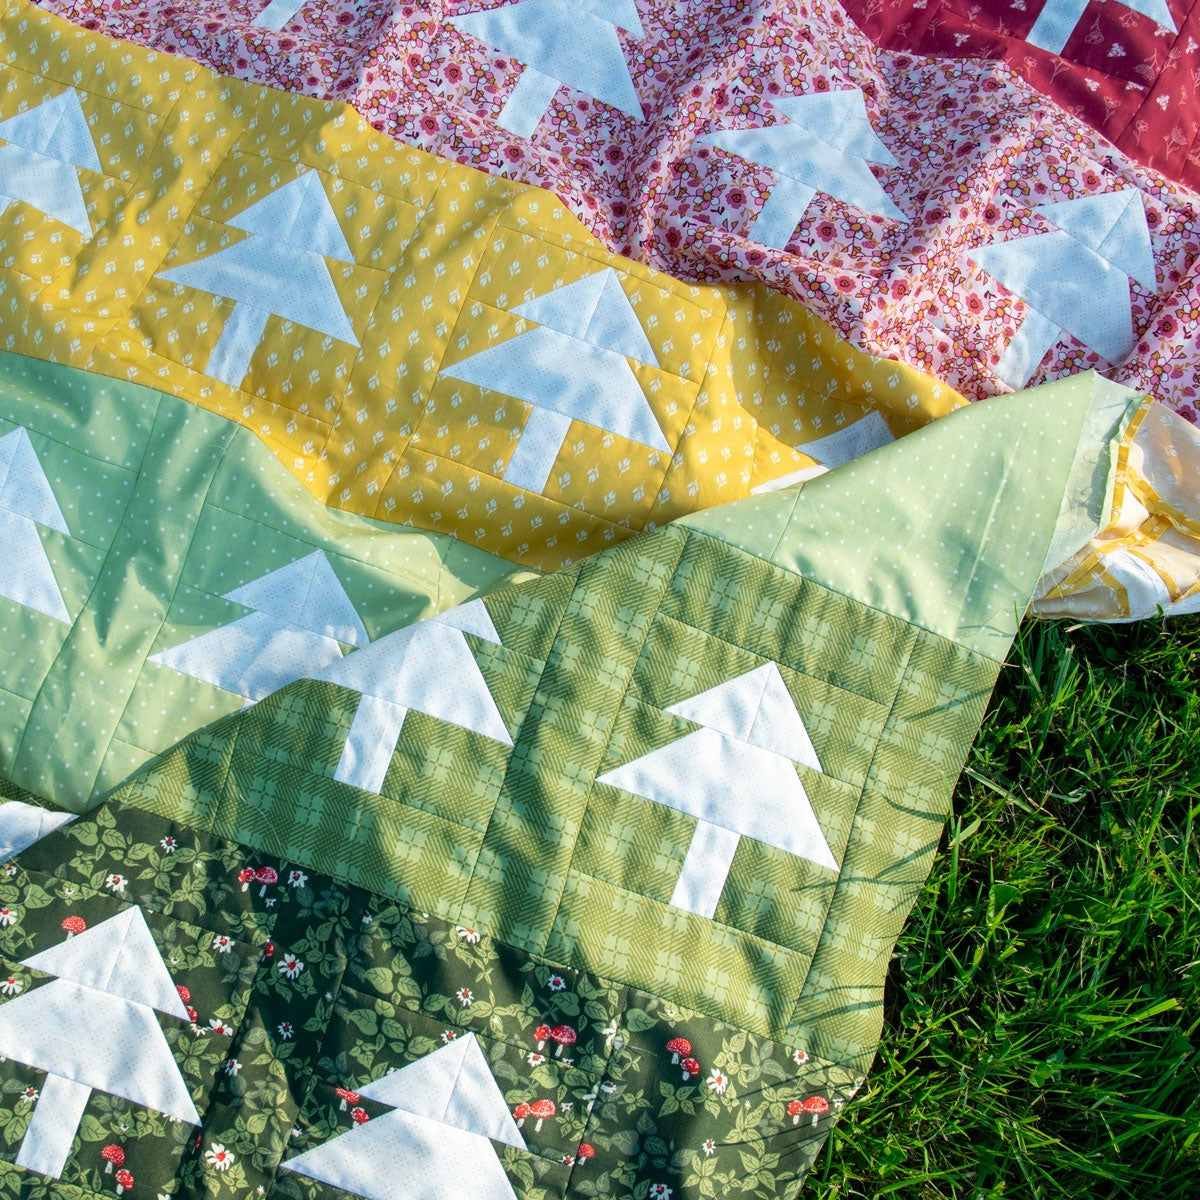
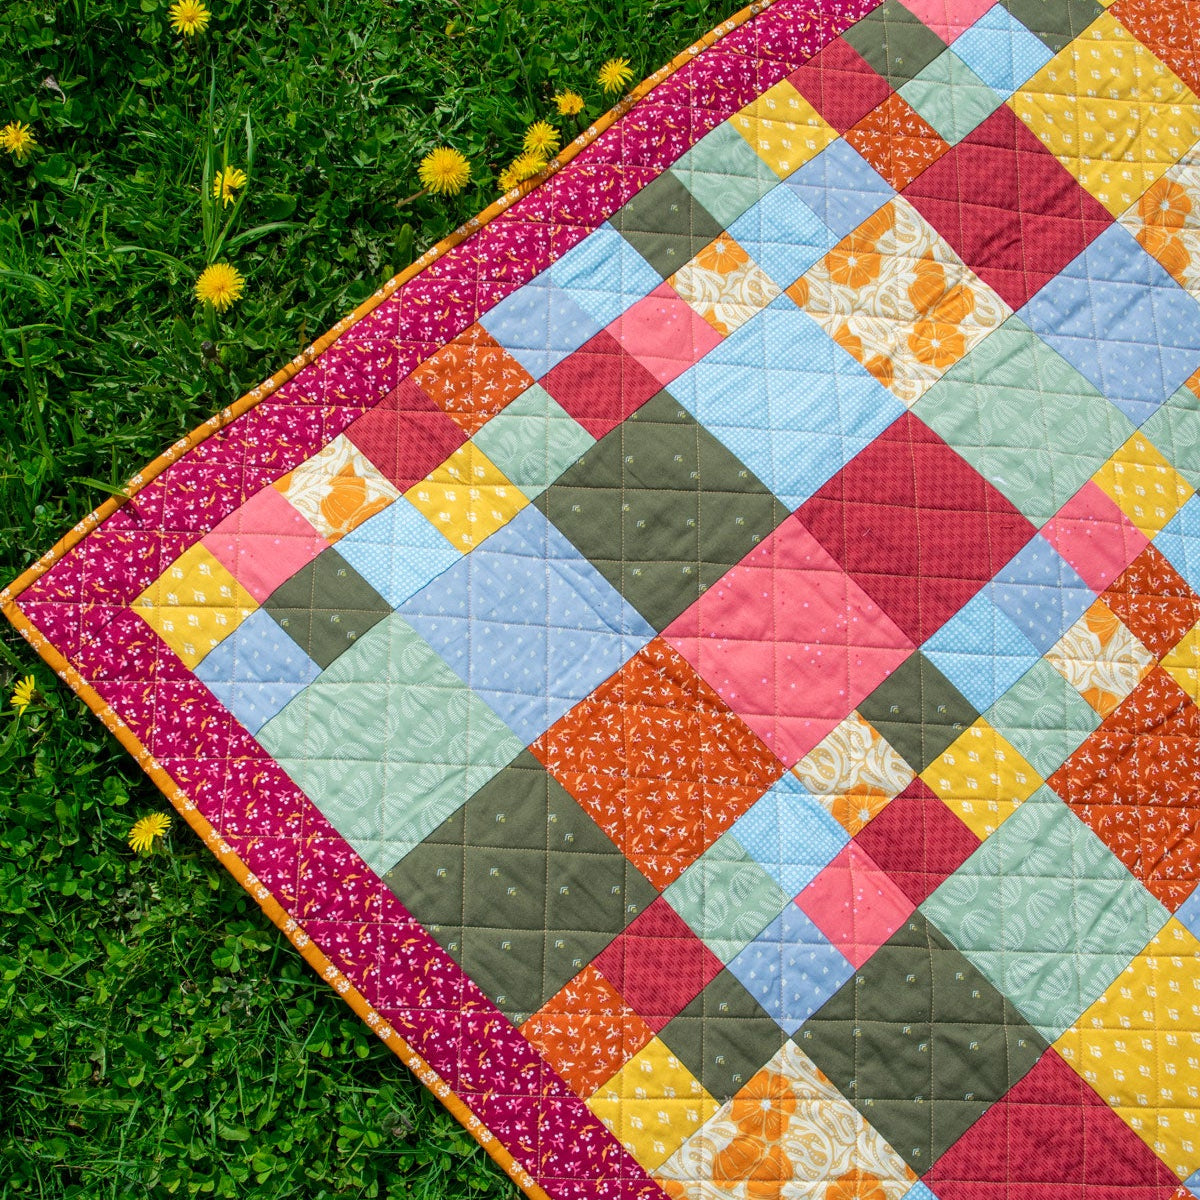
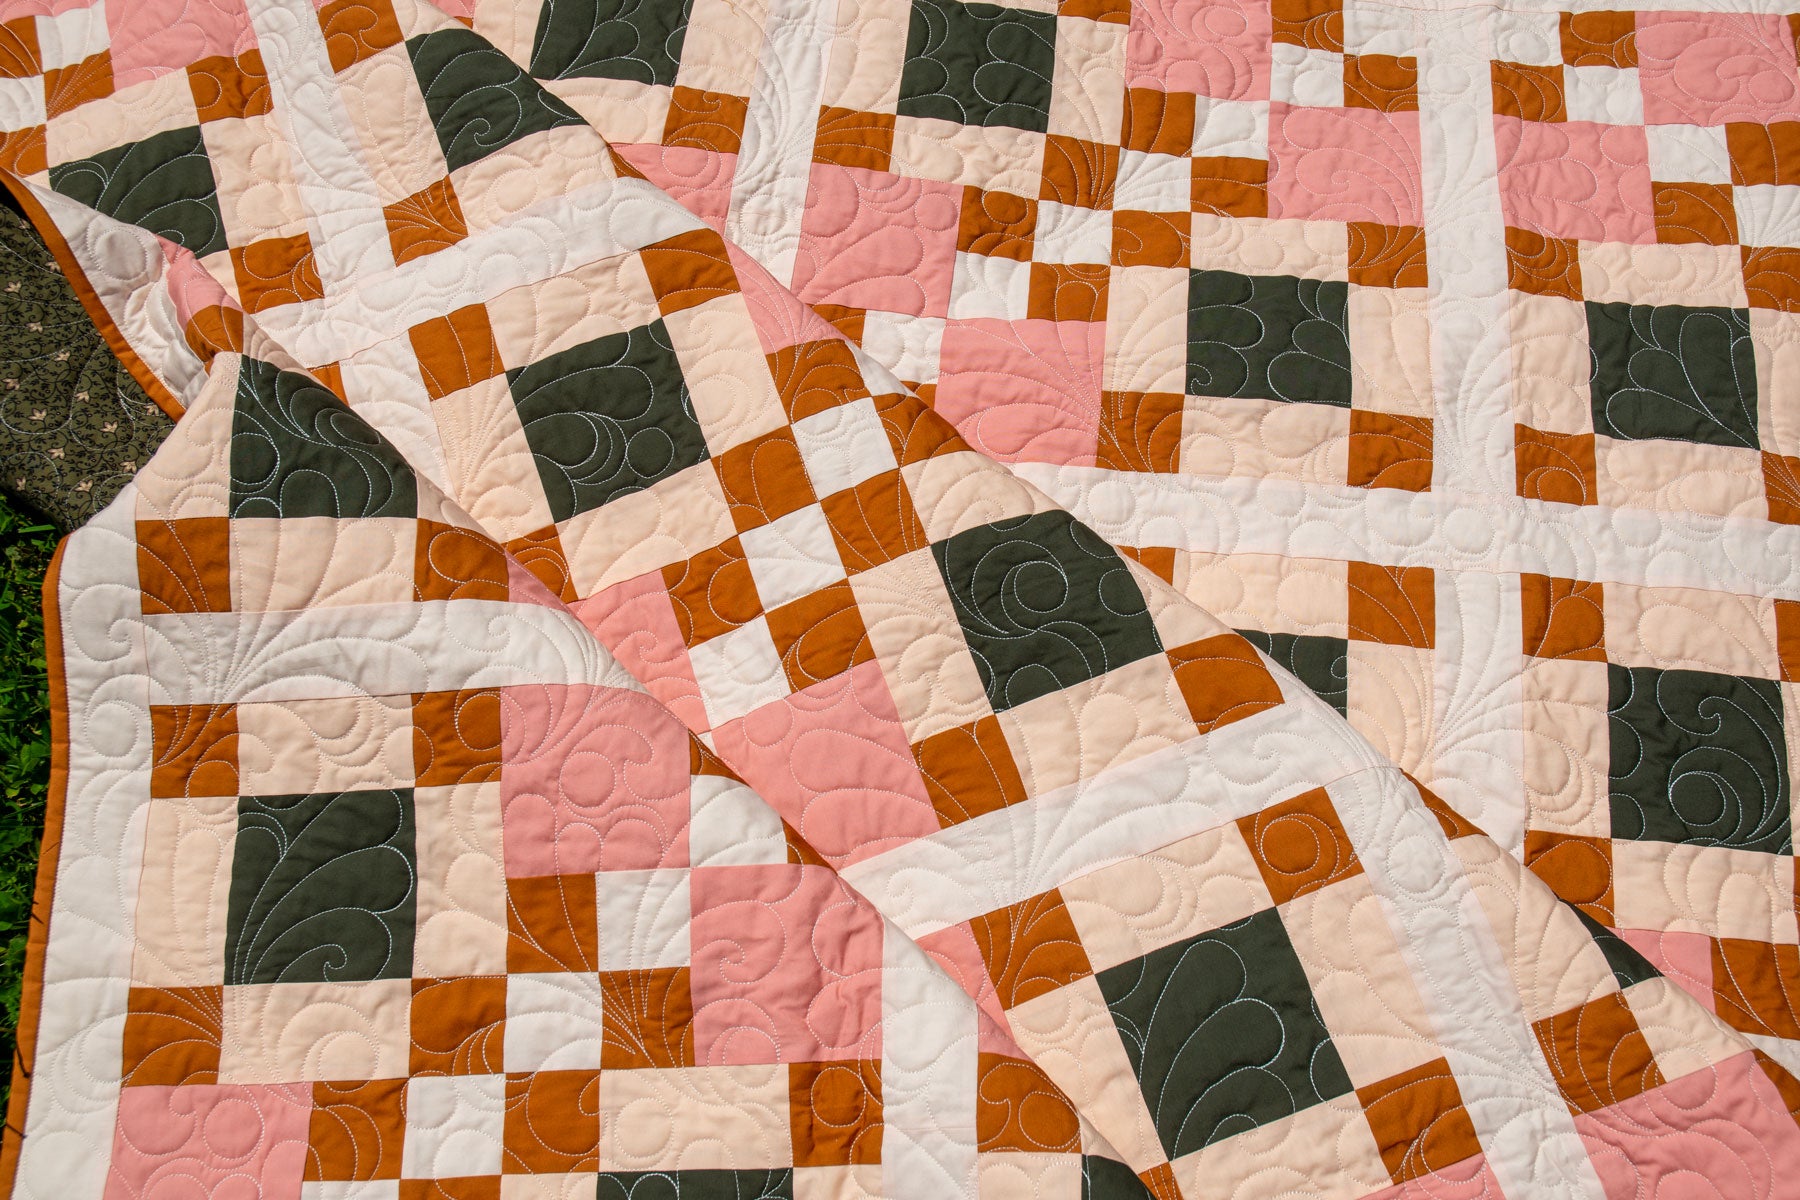
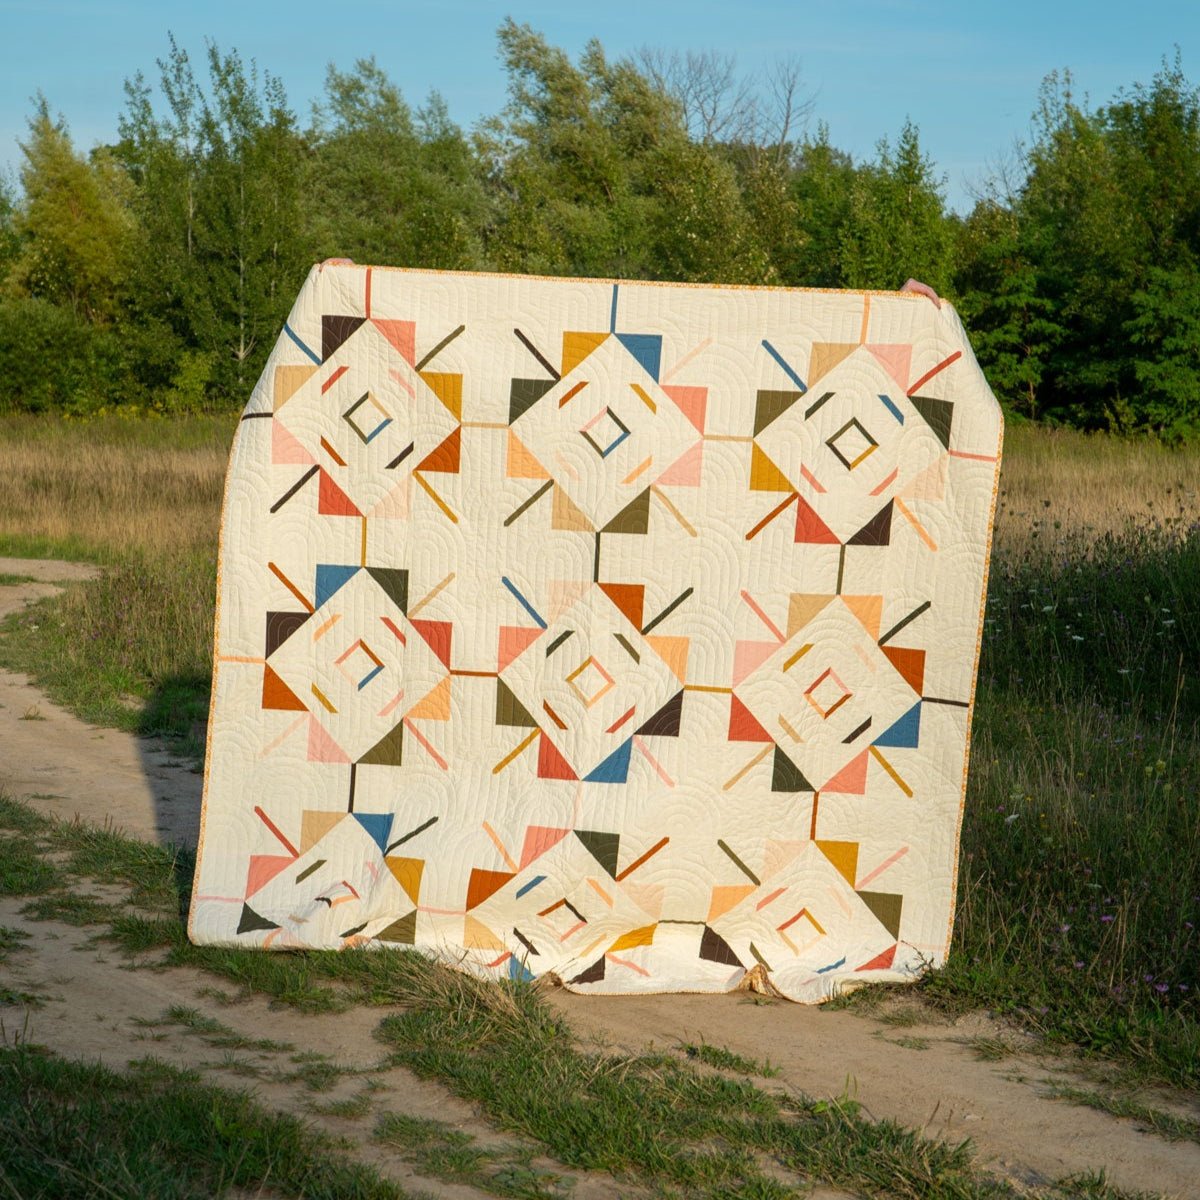


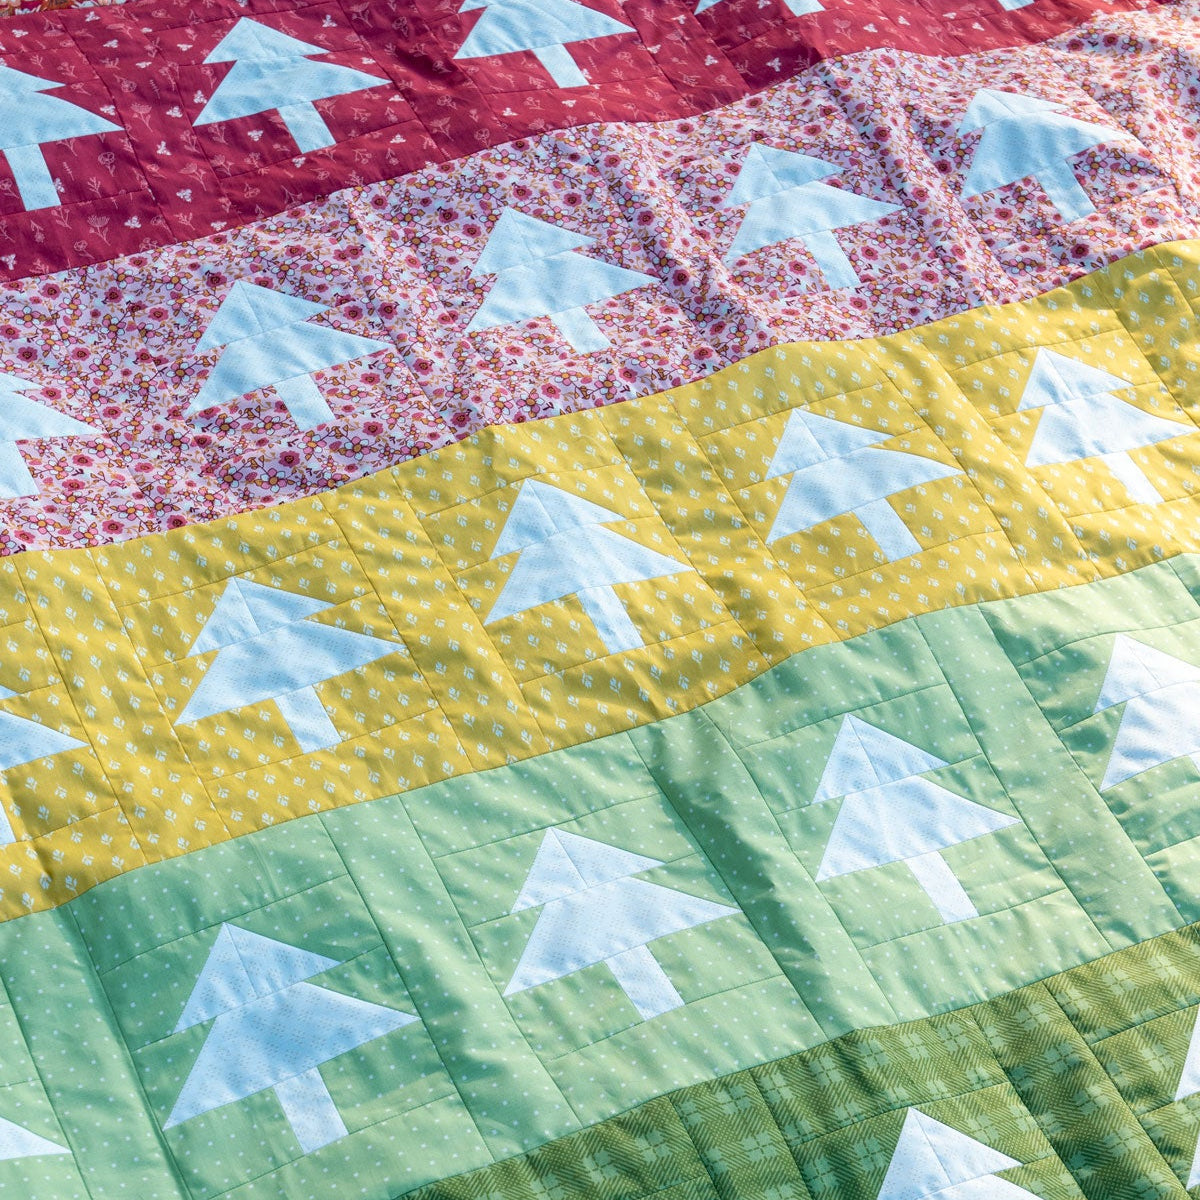
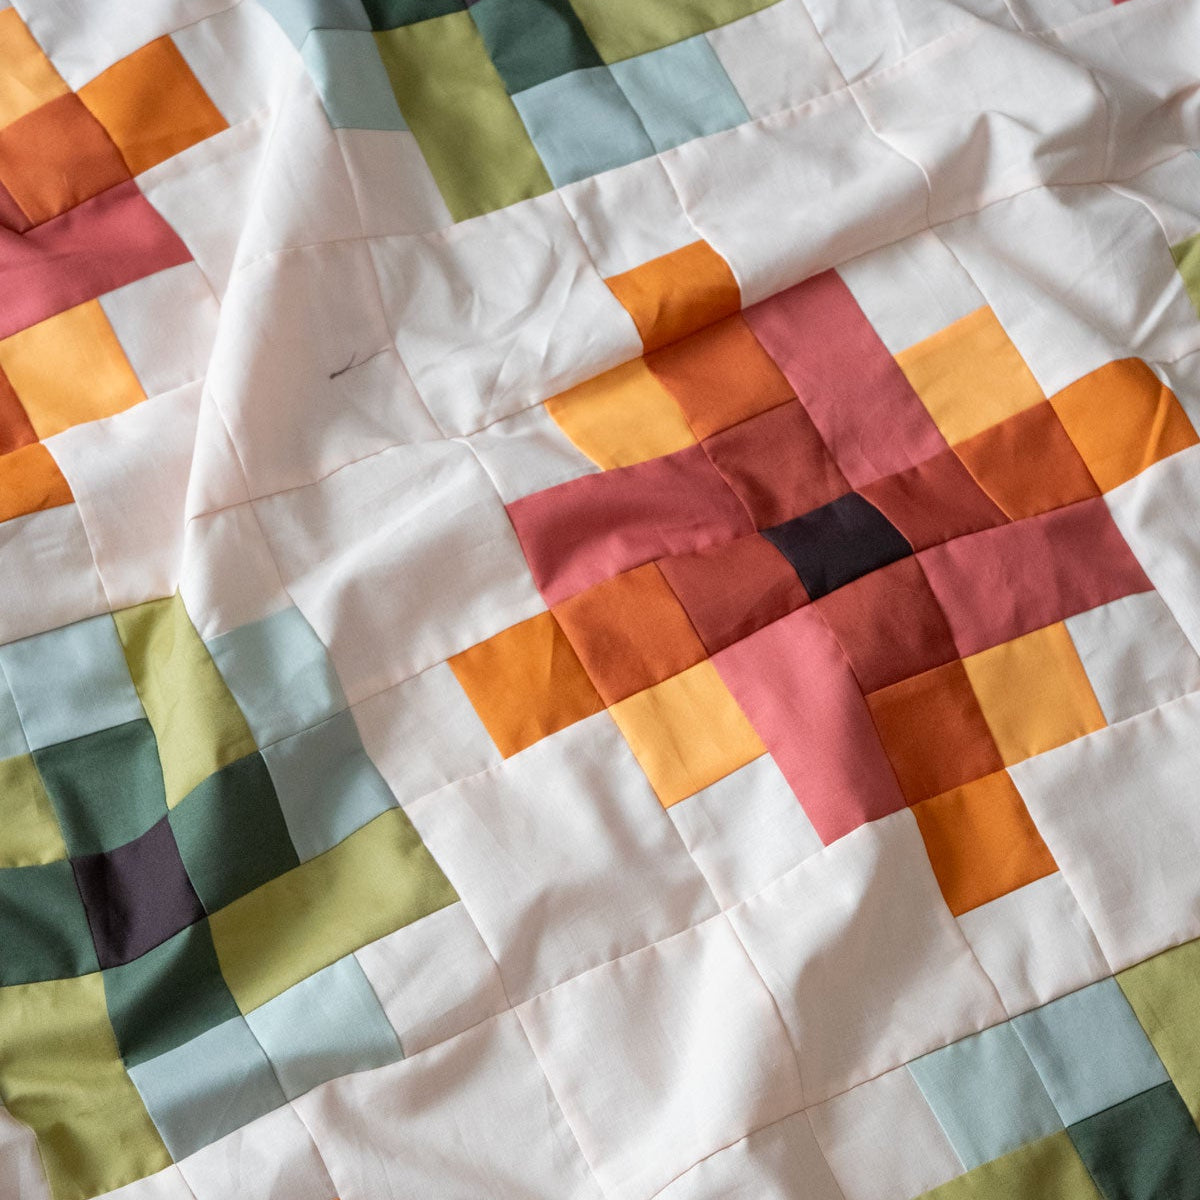
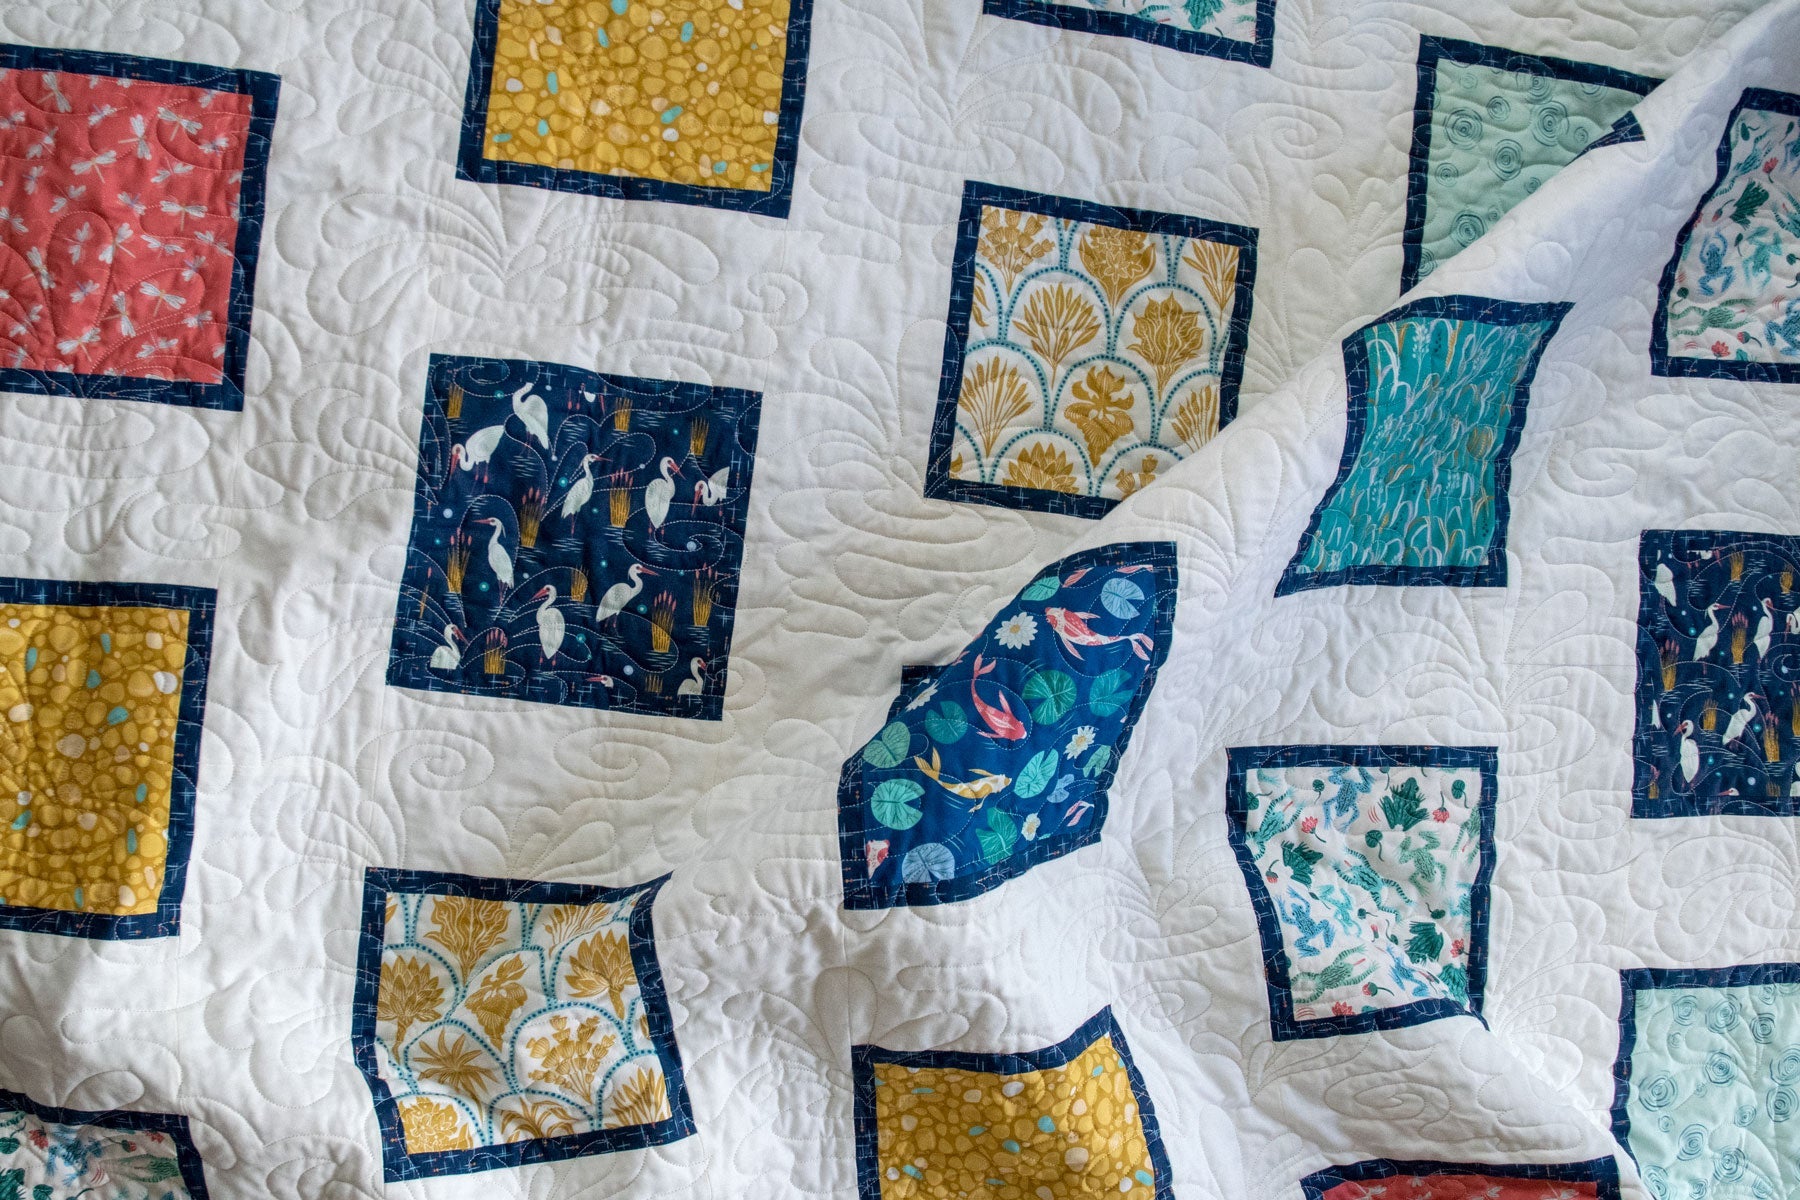

6 Steps on How to Properly Bind a Quilt

We’ve given you all the beginner tips you need to create your first quilt. Now, your final step is binding that beauty. The sooner you get it done, the sooner you can share your masterpiece with your loved ones. To help you get your quilt cleaned up, follow these steps on how to properly bind a quilt. Say goodbye to frayed edges and hello to your gorgeous finished piece!
Trim Down and Square Up
Before you begin, you need to square up your quilt. For beginner quilters, there tends to be quite a bit of excess batting and backing, so before you bind, make sure you trim it down. Use long straight rulers and large square rulers to give you those straight, clean lines. This will make it easier to bind, and it lessens the chances of any puckering or waves.
Make the Binding
Next, you have to make the binding. Once you chose the fabric you want to use for it, take measurements of the quilt, as you’ll need to figure out how large your quilt is and how much you want your binding to stand out. You’ll need to determine the quilt’s perimeter, and then, add on an extra 12 to 15 inches of extra binding material.
Once you have this measurement, you’ll need to cut your fabric into strips of your chosen width. Once you do that, you’ll need to sew those pieces together, ensuring that this binding strip is long enough to outline the perimeter of your quilt. You’ll achieve this long strip by doing the following:
- Have two strips at a right angle with their ends overlapping, creating an “L” shape
- Stitch a diagonal line across where those two strips meet, and then, pull the two ends to create this straight line of fabric
- Trim away the extra fabric triangle on the outside of the diagonal seam, leaving ¼ inch seam allowance
- Continue attaching more strips to create the necessary length
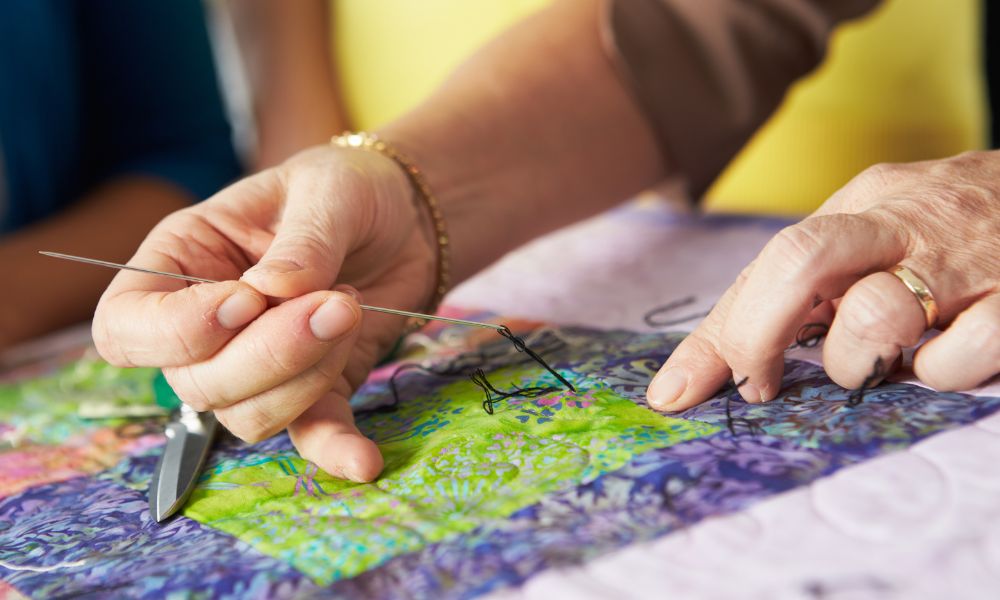
Place Binding and Sew the First Edge
Once you’ve done those first two steps, you can get started on actually sewing your binding to your quilt. Find the placement of the binding before you start sewing—you don’t want to have any of those seams on the corner of your quilt. Once you figure out the placement, line up the raw edges of both the binding and the edge of your quilt.
Start sewing about six to eight inches away from a chosen corner, with that same amount of a tail loose so you can join those up later. Then, sew the binding onto the front of the quilt with a ¼ inch in seam allowance.
Miter the Corners
Once you get to a corner, stop stitching ¼ inch away from the edge. You’ll then want to take the quilt off of the machine and fold your binding up and away from the quilt. Then, fold it back down. This will create a tuck of fabric and give you sharp edge, rather than an uneven curve. This is a miter!
Sew the Rest and Join the Ends
Go through the rest of the front of the quilt, and sew and miter at the corners. Once you get back to the beginning, you’ll want to stop stitching six to eight inches from where you began. Cut the two extra strips at an angle and overlap the two strips of fabric, tucking the last tail over the tail at the beginning. Stitch along the edge of the quilt and sew over your original seam.
Sew the Back
You’ve finished the front side of your quilt! Now turn the quilt over and bind the other side, using the same technique. You’ll want to go a bit slower here to ensure straight edges.
Once you’ve done all that, you’ve completed your quilt! We hope these steps make it easier for you to complete your project. If you need help completing your project, turn to Lindley General Store. From Canada quilt fabric to books on quilting, we’ll get you feeling confident in your skills in no time!

Comments