The Best Craft Projects for Mother's Day

Finding the perfect gift for Mother's Day is always a challenge. How do you express your love and gratitude in one single gift? In this blog, we'll share some of the best craft projects for Mother's Day to help you gift your mom the perfect present.
Mason Jar Picture Frames
Flowers are always a thoughtful gift to give your mother. This Mother's Day, try customizing this universal gift by making a picture frame vase!
Prepare Your Vase
First, find a suitable mason jar to use as the base of your flower vase. Next, pick the perfect paint to color your mason jar.
Before applying paint, choose where you'd like your photo to be displayed on your jar and section this area off with painter's tape or a vinyl sticker.
It is best to measure the size of the photo you will use to ensure you provide ample room for your picture frame. You will paint over this covered area and wait to remove any tape or vinyl until after the jar's paint has thoroughly dried.
Add Your Photos
After your jar has fully dried, you can remove your painter's tape or vinyl to reveal the clear glass section where your photo will be featured.
Next, print your favorite family photo and slip it inside the jar until it is featured and visible through your clear glass frame. We recommend taping your photo inside your jar to prevent any tearing when changing or removing pictures later.
Next, grab a plastic cup and cut the rim. You will place your cup inside your jar to hold your flowers. Your final step is to pick the perfect flowers to stick inside your vase. Whether you choose roses, lilies, or daisies, this completed flower vase and picture frame hybrid gift will show your mom love and appreciation this holiday season!
Supplies
- Mason jar
- Painter's tape or vinyl sticker
- Paint
- Flowers
- Plastic cup
- Photo
Handprint Coasters
Are you looking for an easy craft that can involve the whole family? Handprint coasters are a simple and touching gift to give any grandmother this Mother's Day. The process for making these gifts is convenient and straightforward.
First, dip your children's handprints into different colors of acrylic paint. Once their hands are loaded with paint, let them press their palms into the middle of a white tile coaster. Let this tile fully dry, and mist over paint with protective glaze spray. For a special touch, choose a colorful bow to stack and wrap your coasters. In these simple steps, you can give a functional and high-quality Mother's Day gift!
Supplies
- White tile coasters
- Acrylic paint
- Protective glaze spray
- Bow
Memory Blankets
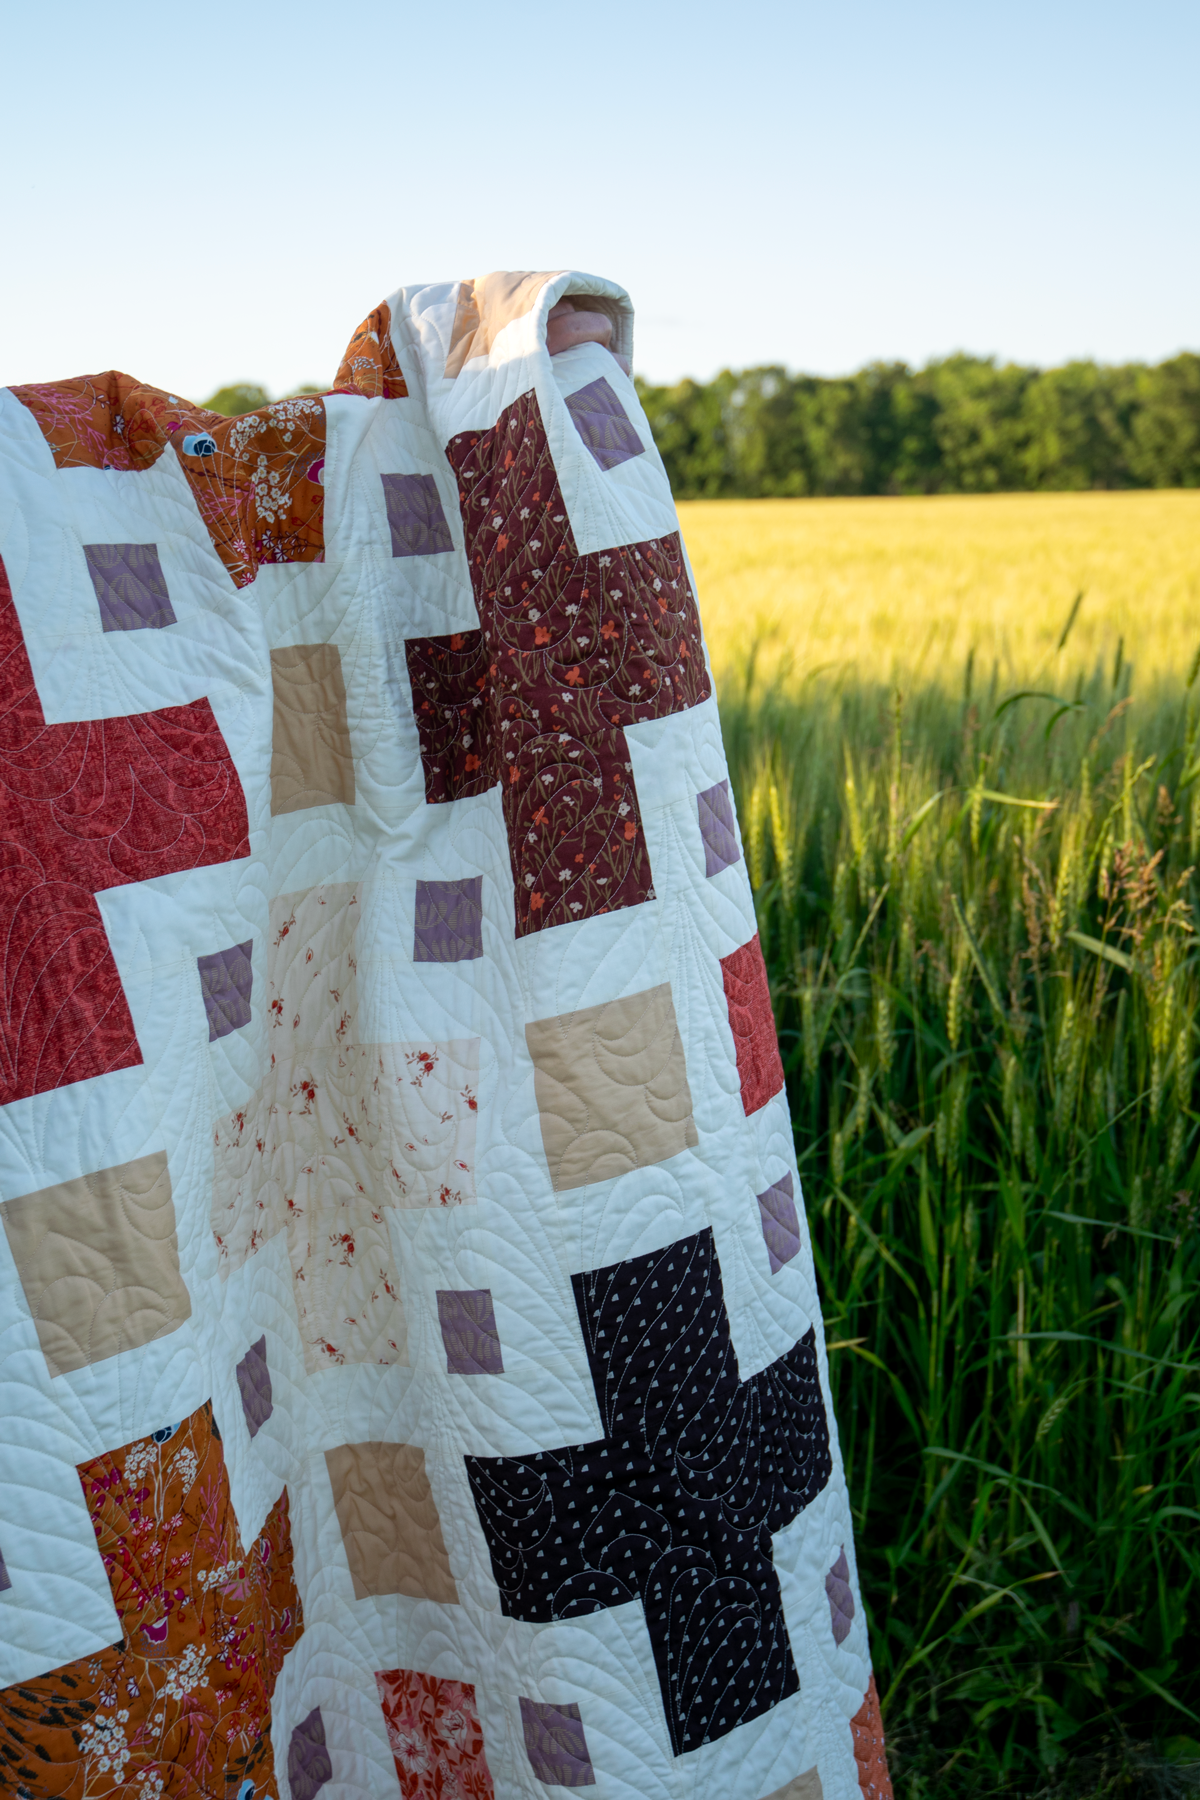
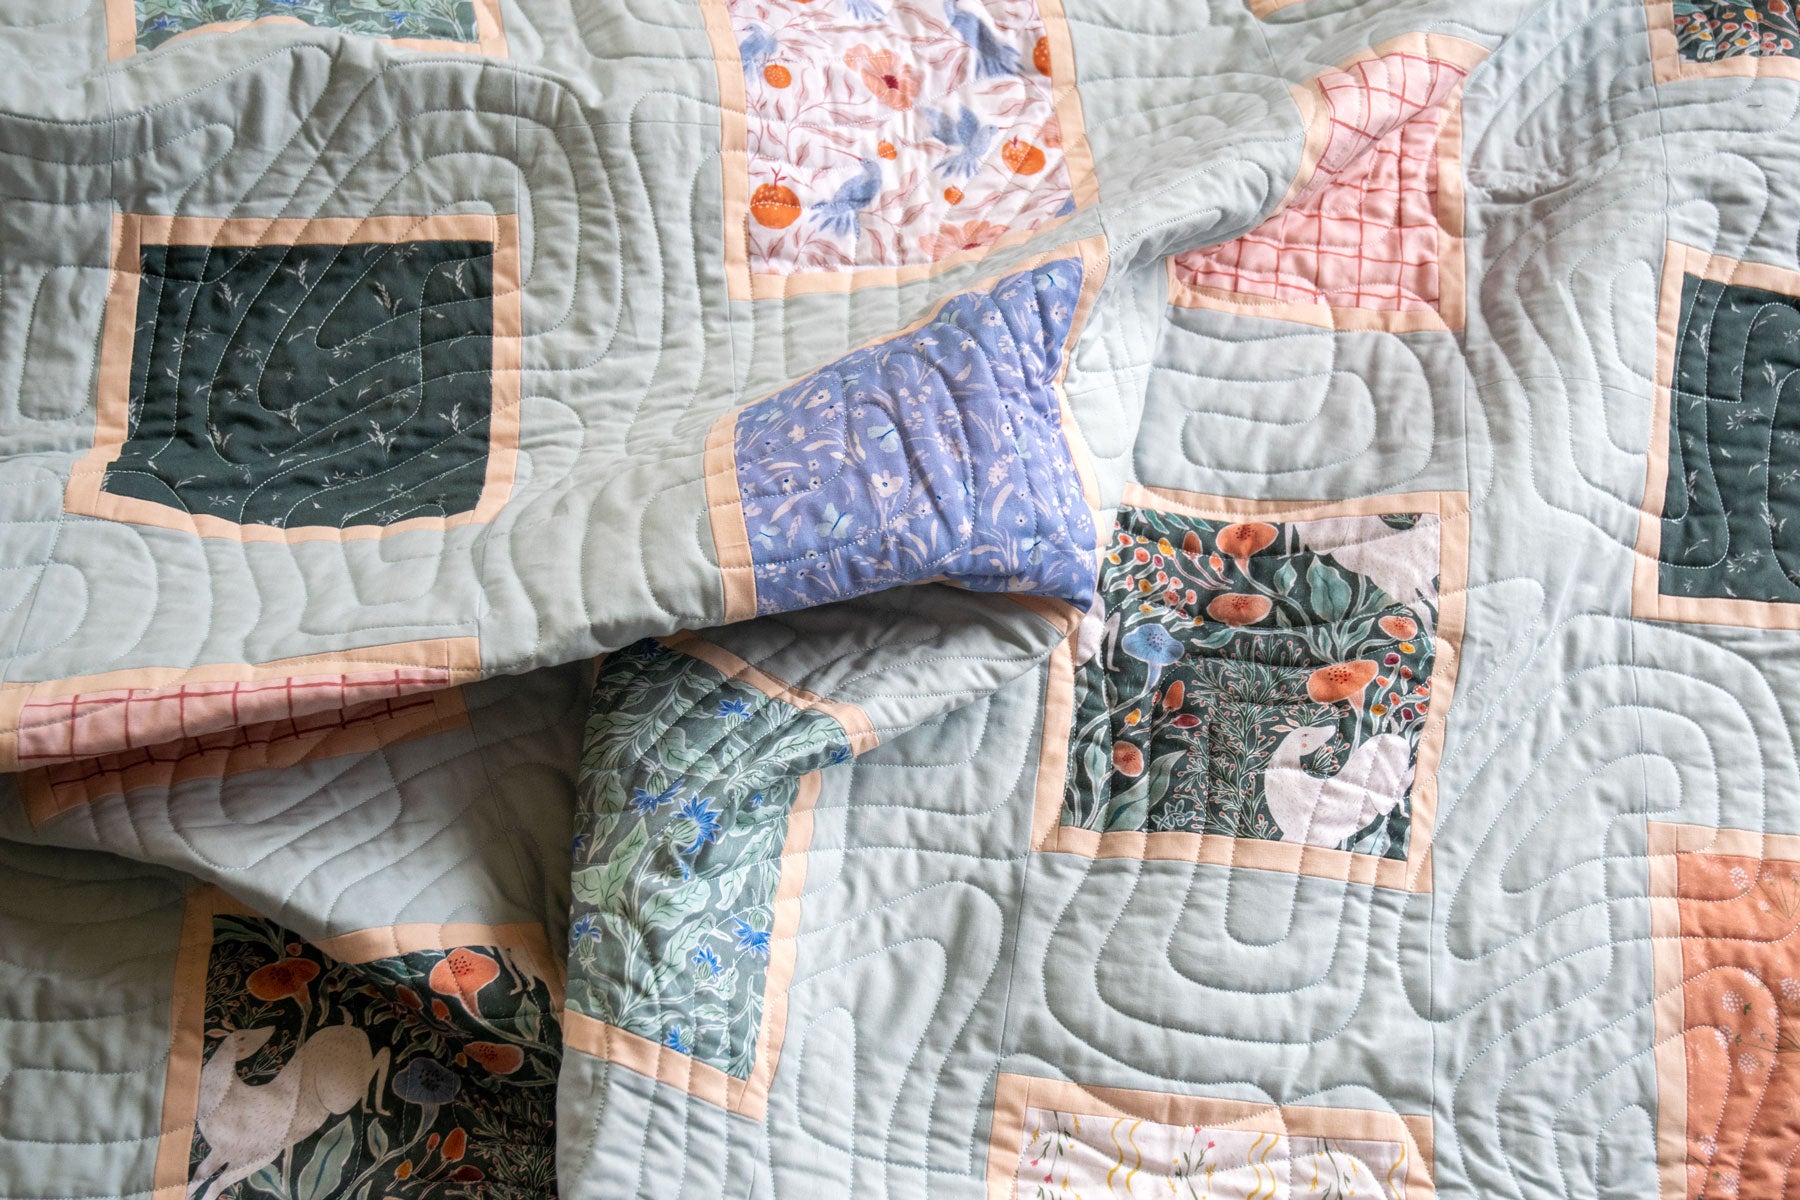
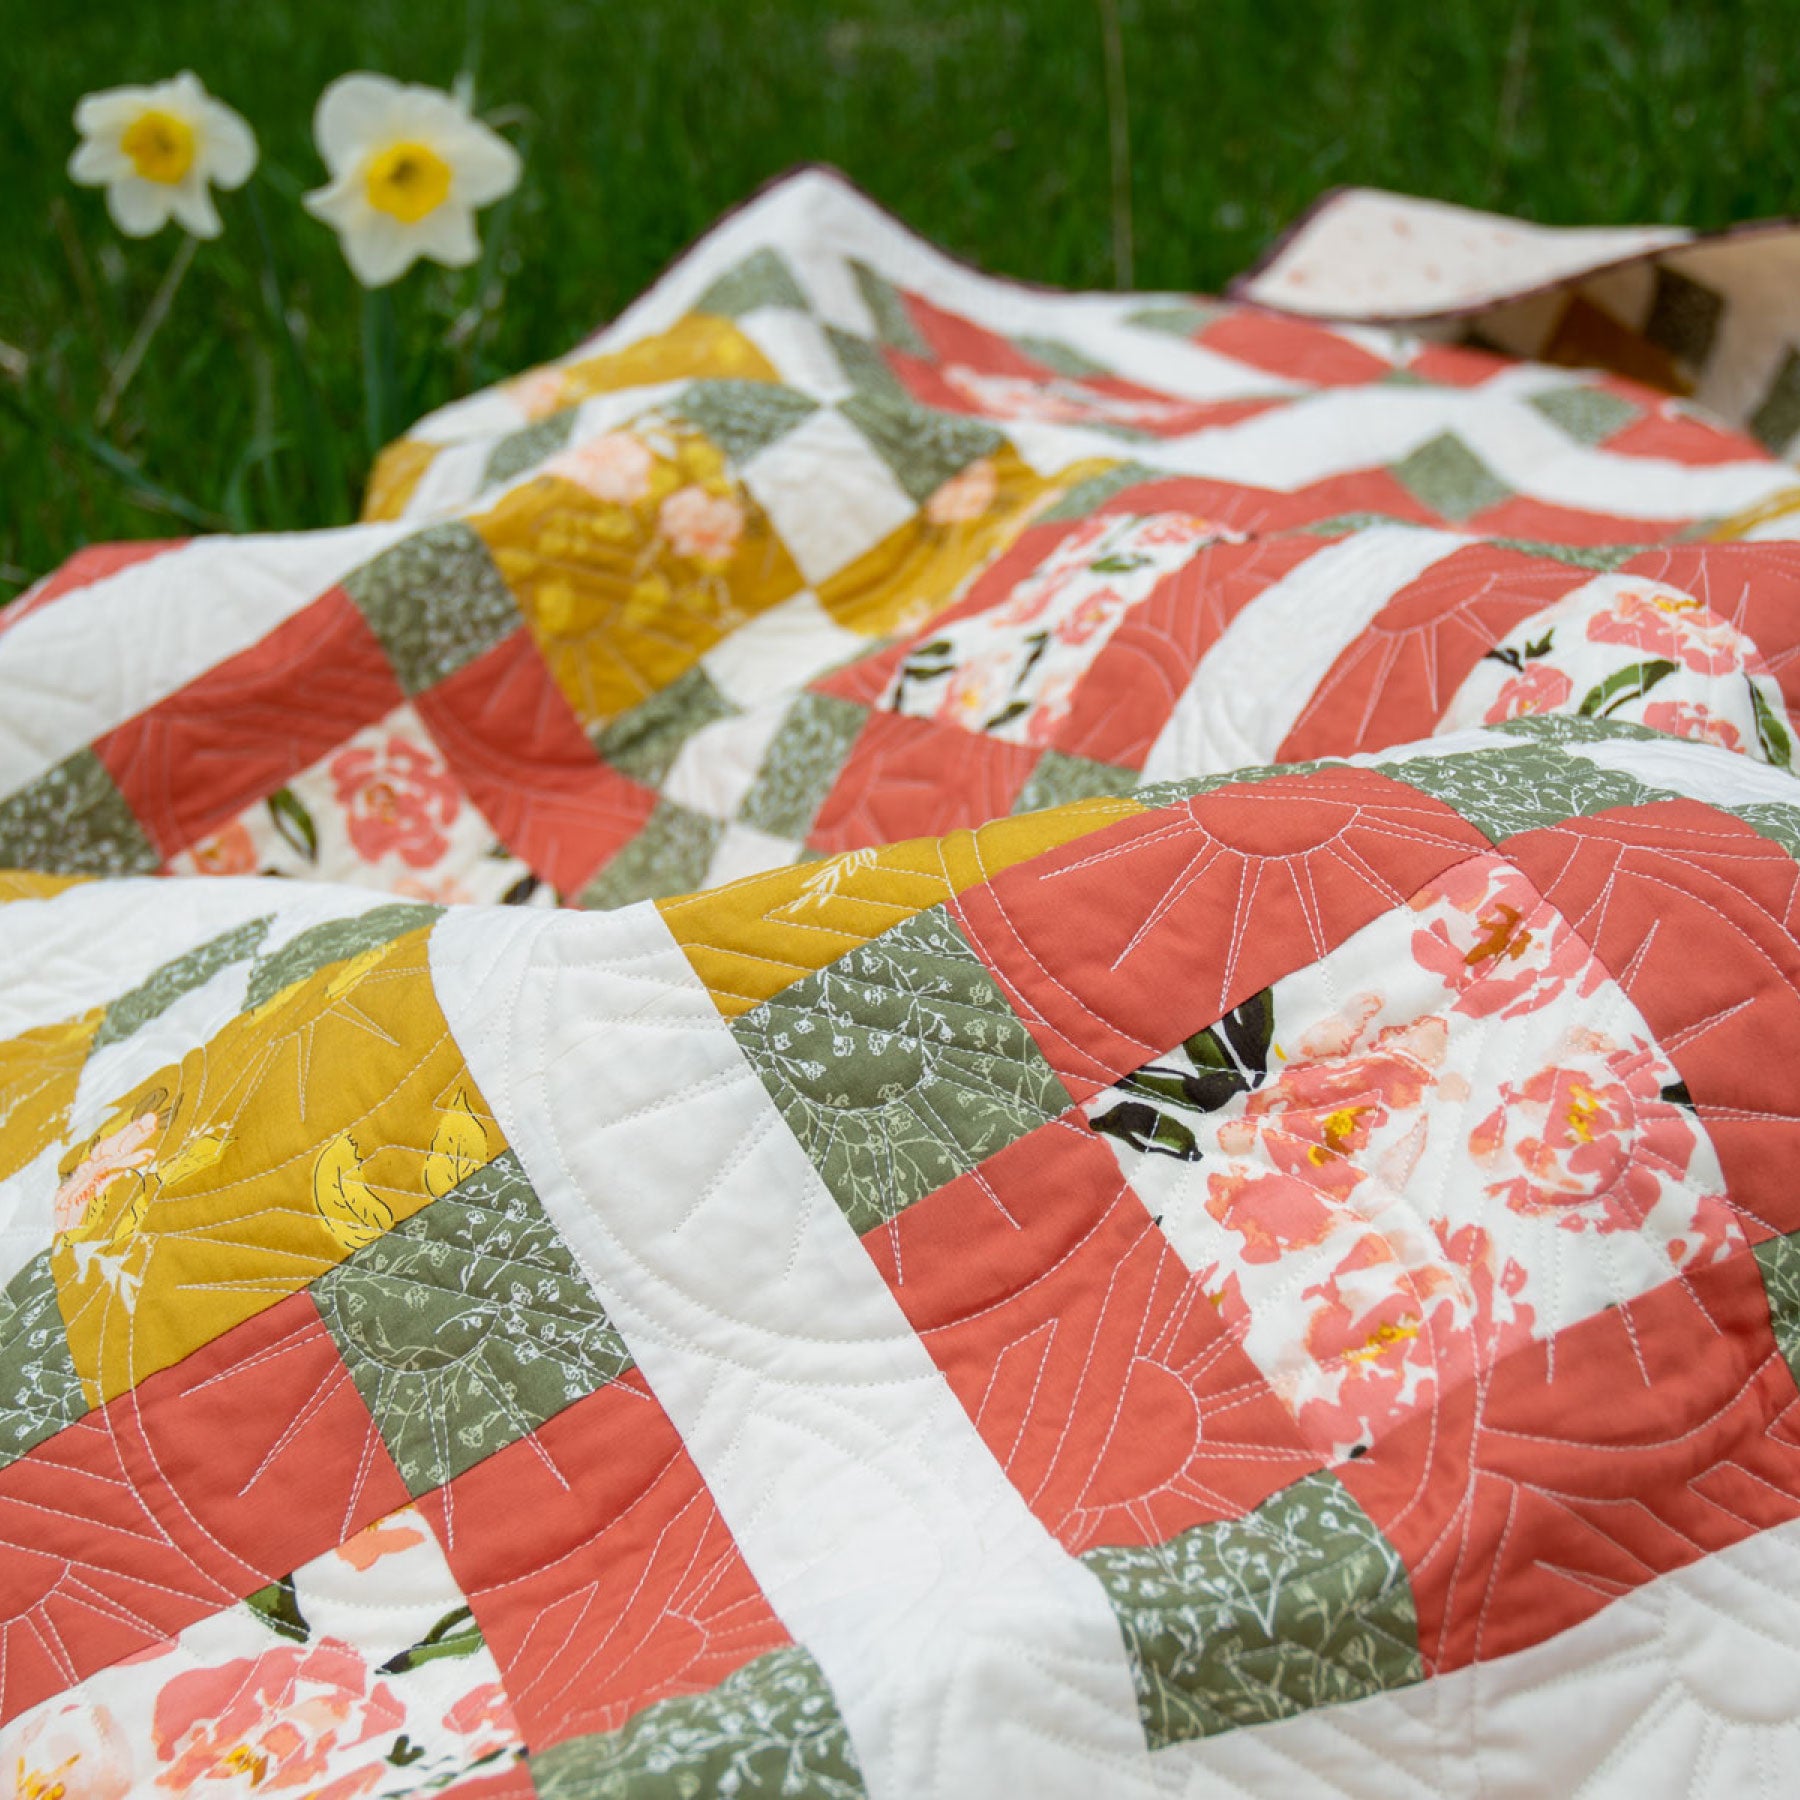
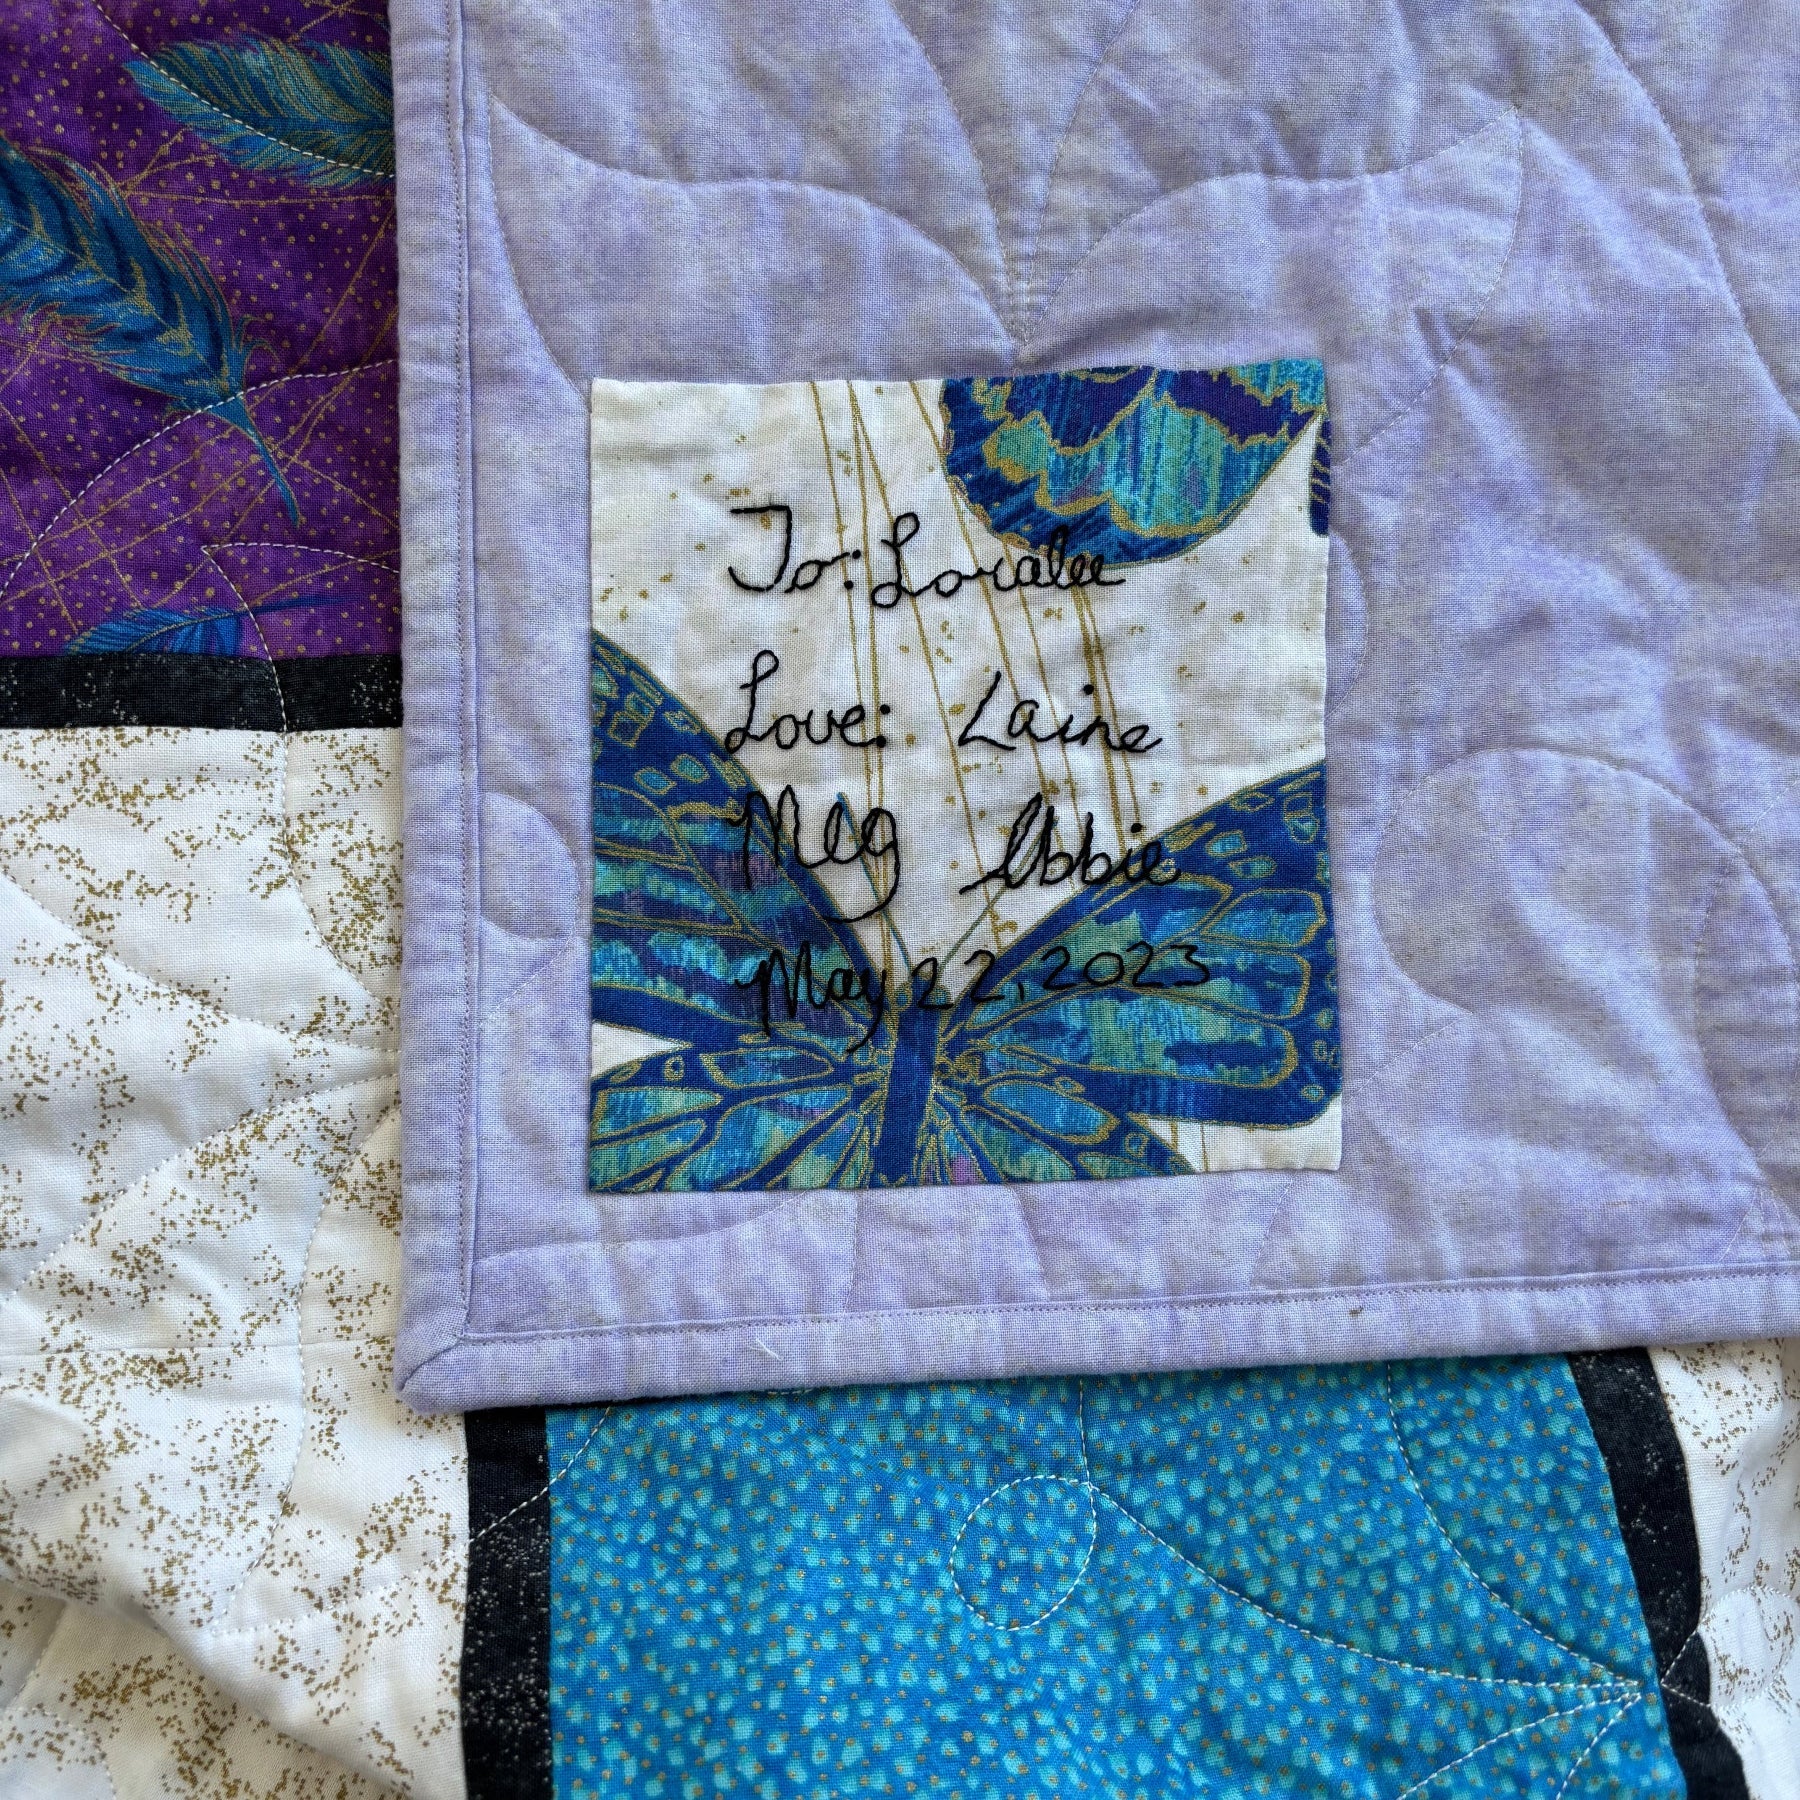
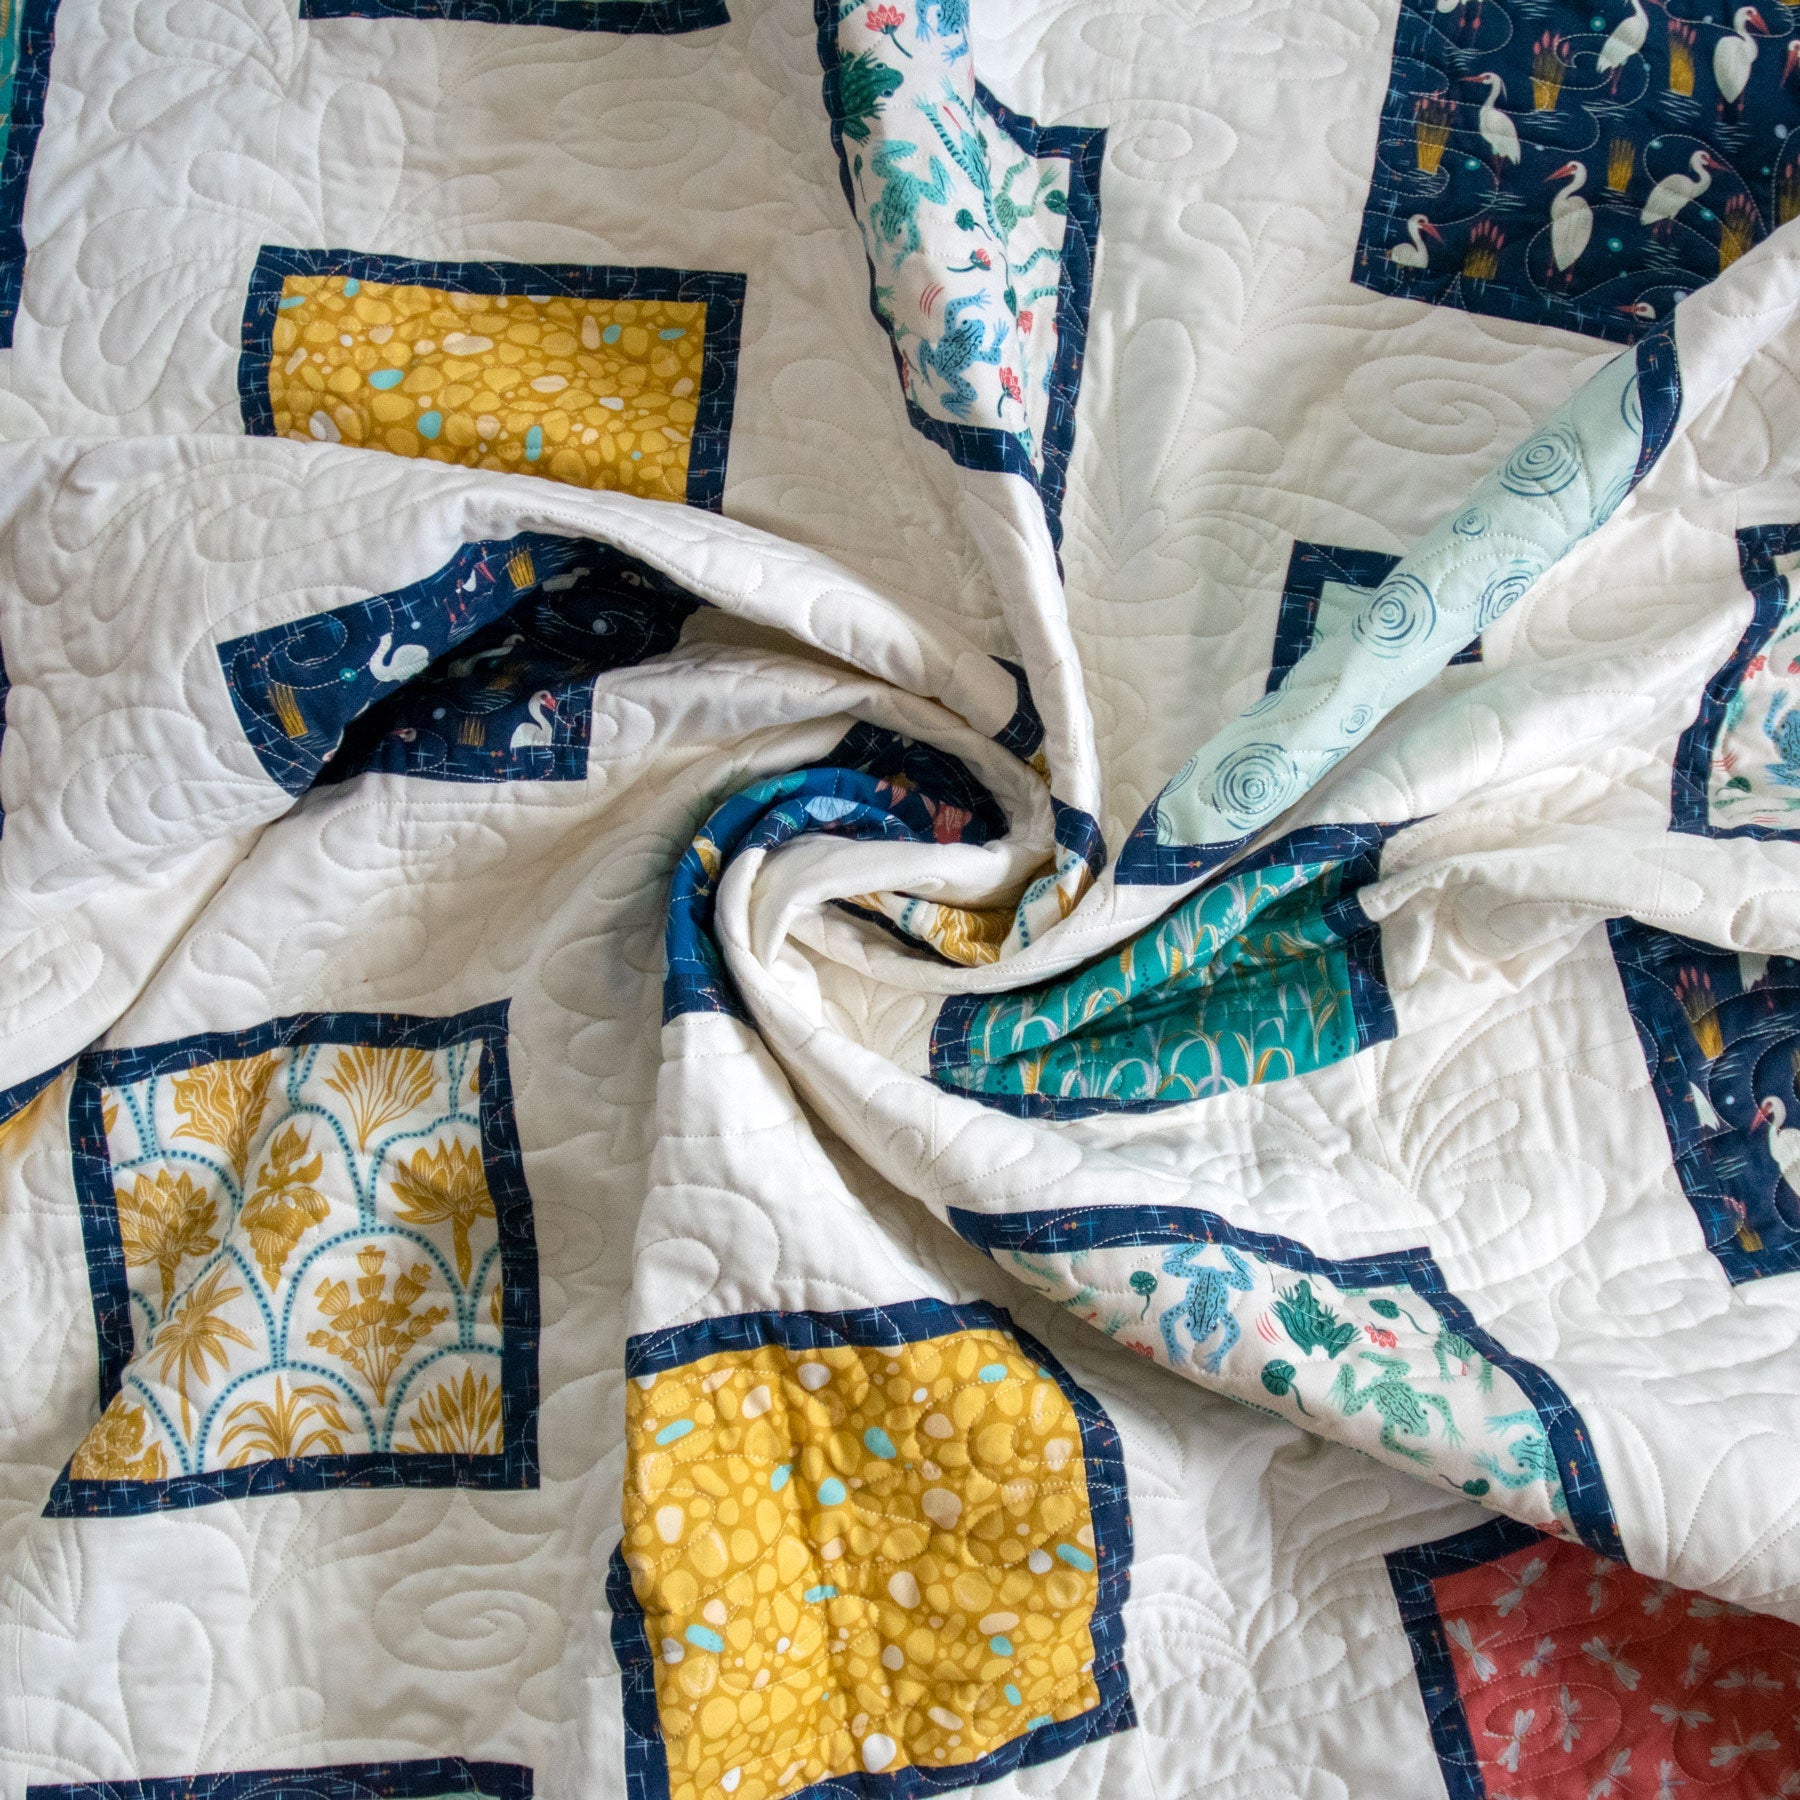
One of the best crafting projects for Mother's Day is a unique memory blanket. To start this project, you will first need to make some decisions. What size would you like your quilt to be? What type of fabric do you plan to use? We recommend making a quilt of either 39x75 inches (Twin bed size) or 54x75 inches (Full bed size), depending on your comfort level. When choosing fabrics, lightweight fabrics with lighter colors will better showcase photos.
Prepare Your Quilt
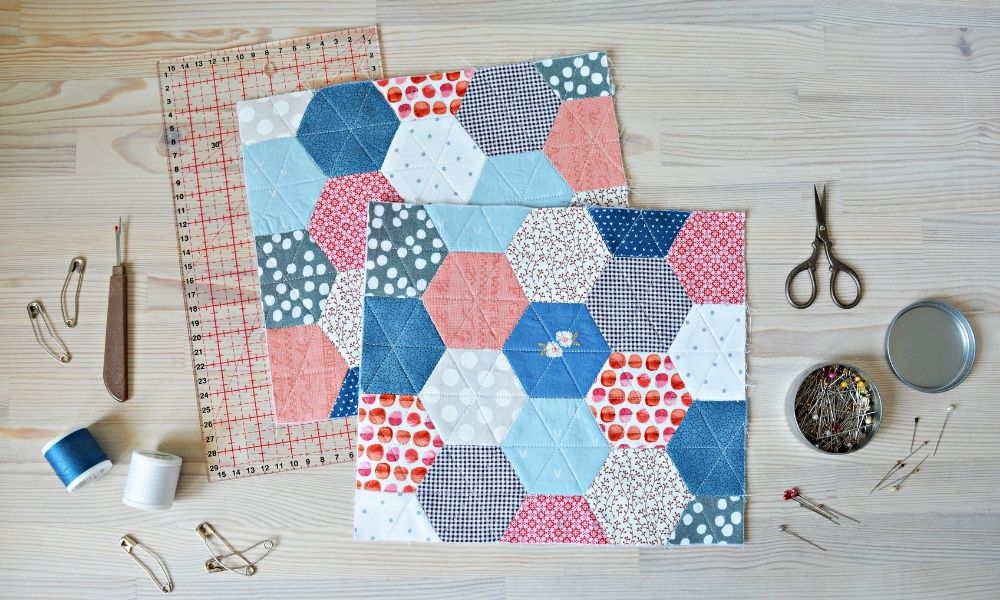
Once you've chosen your material and flattened it with an iron, you will divide your fabric by the size of each fabric panel. If you are new to quilting or do not quilt regularly, we recommend gathering the essential supplies of a quilter's tool kit before beginning this project. Our quilting supply section offers all the crucial cutting and sewing tools needed to make your fabric panels for quilting.
Once you've gathered your needed supplies, measure the size of each fabric panel. As you measure the length of each panel, remember to leave ¼ inch on each side of your fabric blocks for seam allowance.
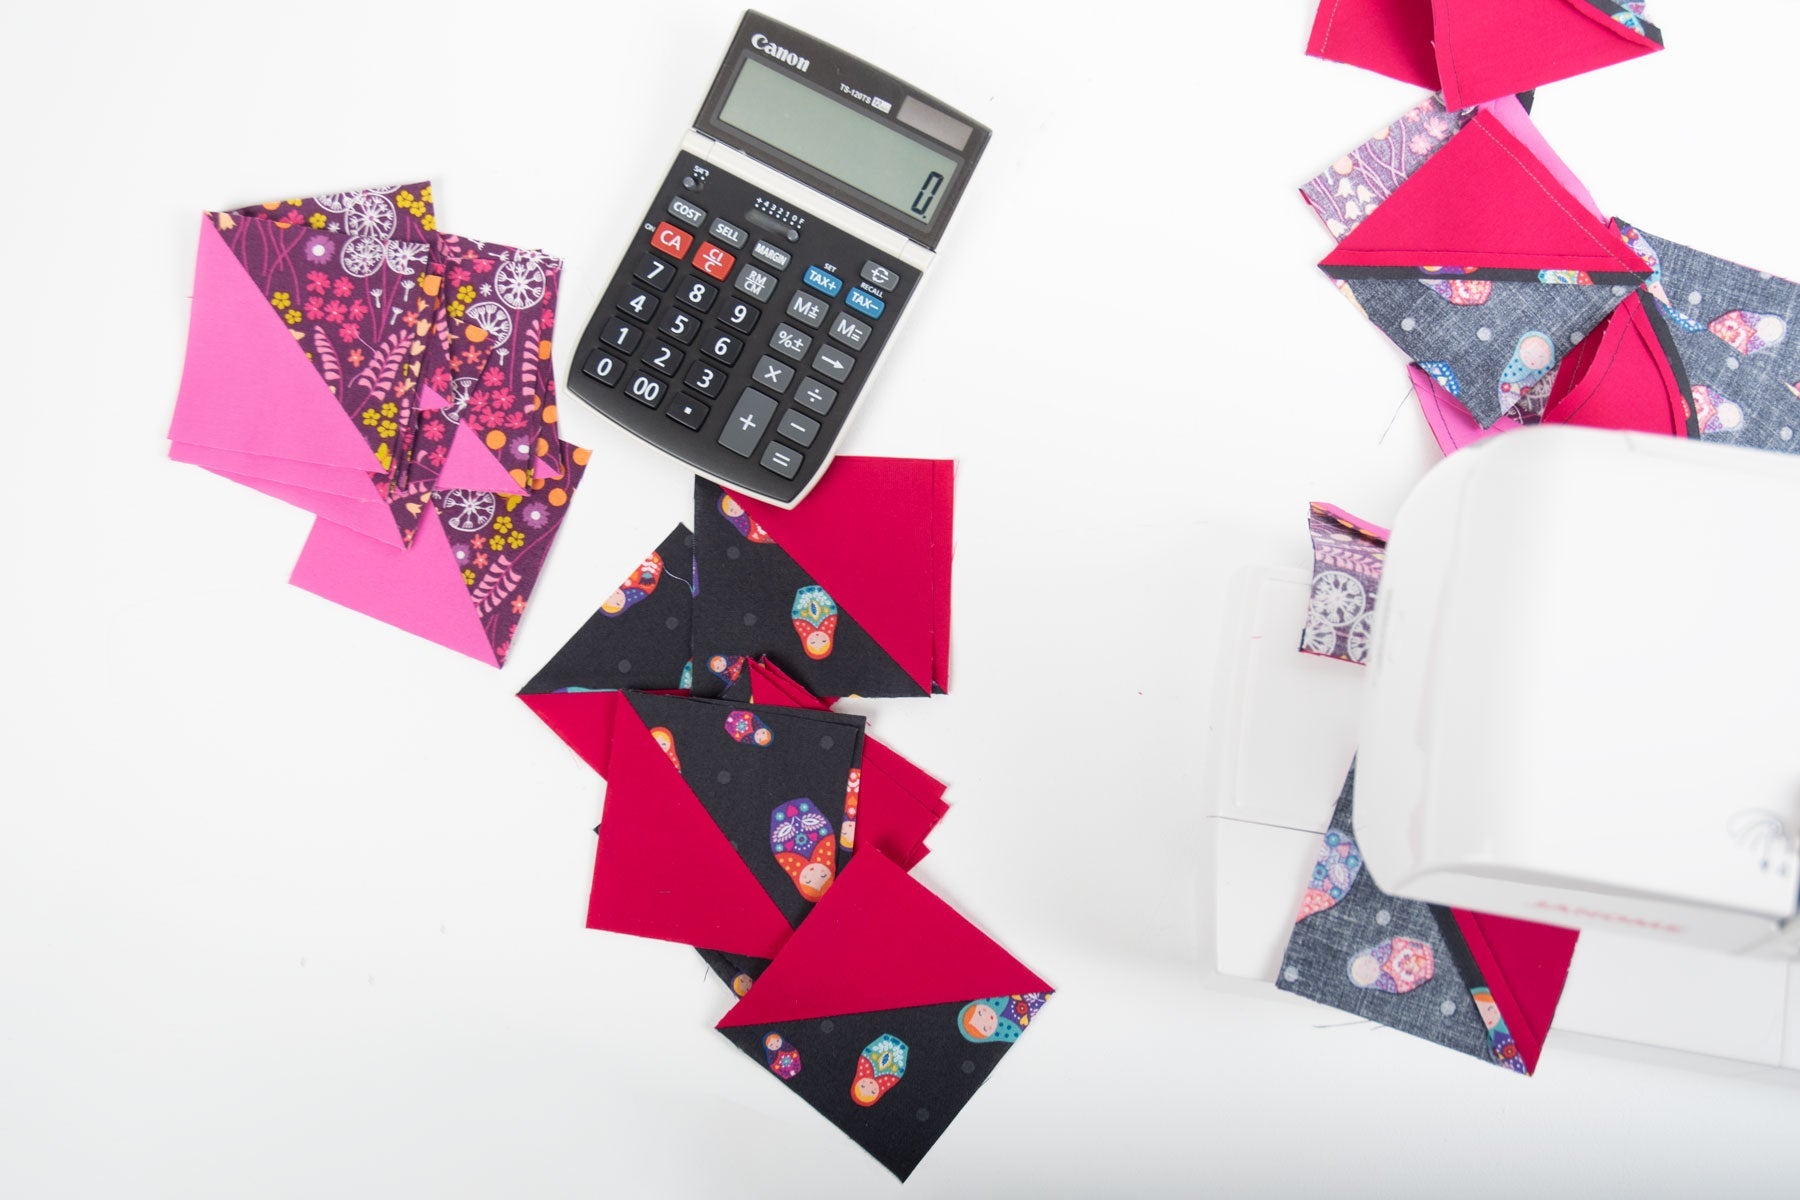
Next, you will cut your squares of fabric and lay each square side-by-side until your quilt pattern is outlined. Once you are happy with this outline, collect your squares row-by-row by stacking them from left to right.
Sew Your Quilt
Use your sewing machine to begin sewing fabric panel squares together. After finishing each row, use an iron to press the seams of your fabric down. Once each row has been individually connected, you will follow the same process by sewing your completed rows together to make larger fabric panels. When sewing together two adjacent rows, remember to position patterns inward and sew with a ¼ inch seam allowance at the bottom.
Once the front of your quilt has been fully sewn and pressed together, you will cut your batting. It's best to cut batting slightly longer and wider than the size of your quilt. Once the batting is cut, pin the material between the front and back of your quilt with a safety pin.
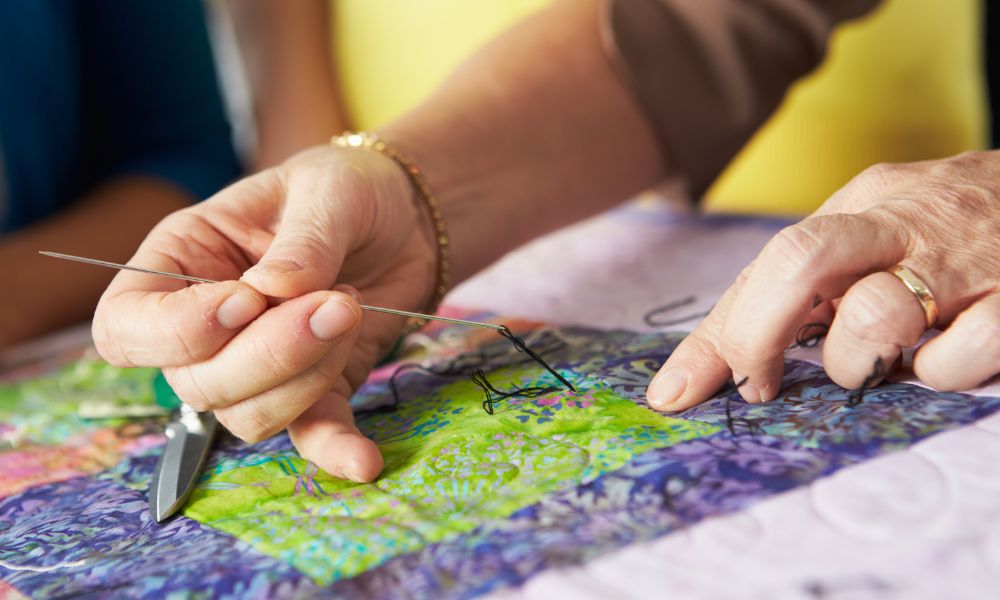
Next, you will sew the front of your quilt, batting, and backing fabric together. Once you have sewn the edges, middle, and binding of your quilt, your blanket is ready for adding photos.
Add Your Photos
Your final step is to add your favorite photos and memories. The simplest way to transfer images to fabric is to use photo transfer paper. Photo transfer paper can be used in ordinary printers to print your favorite photos on a special texturized fabric. Once your images have been printed, lay out where you'd like your photos to be placed on your quilt.
Once you are happy with each photo's location, you will use your iron to press and transfer your photo images onto your quilt. Your finished result is a quilt of your mother's favorite memories that will last a lifetime.
Supplies
- Fabric
- Cutting board
- Scissors or cutting tools
- Rules
- Batting
- Safety pins
- Photo transfer paper
- Iron
- Sewing machine
Although it might be impossible to encompass all the love you have for your mother into a single gift, these crafts are an excellent place to start! Mother’s Day is all about showing your mother appreciation, so consider trying some of these crafts to show off your love and dedication. Here at Lindley General Store, we offer the best crafting supplies in Canada for making homemade crafts and gifts. To explore new fabrics and search for the best quilting tools, browse our website.





Comments