Ways to Organize Your Craft Supplies
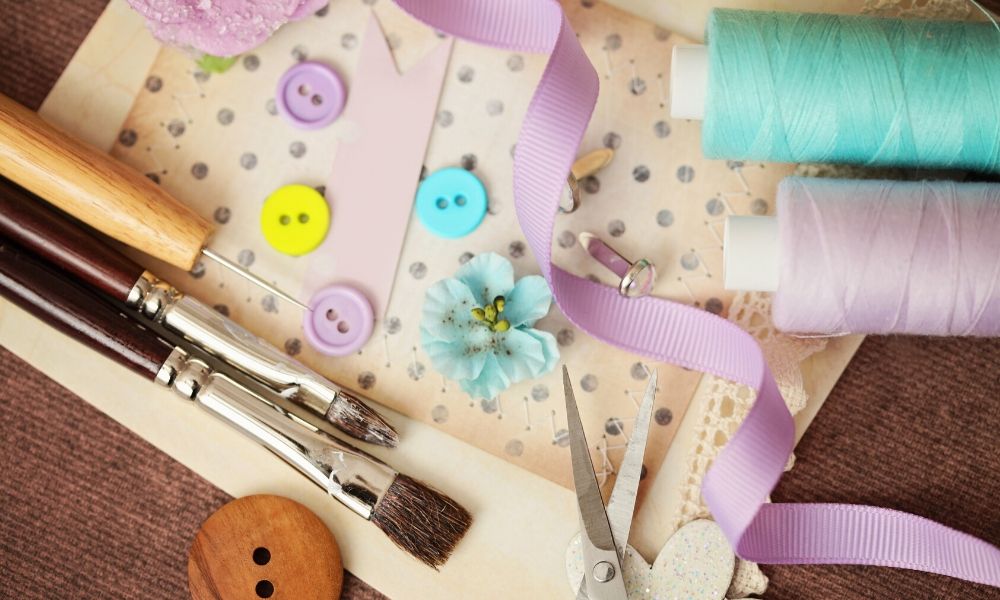

If you’re a crafting queen, then the chances are high that you have a lot of supplies strewn about your home. We’ve all fallen in love with the lovely textures, fabrics, paints, and colors that are associated with crafting, but when you have too much spread about, your craft corner will end up looking cluttered. One of the most important things you can do for your craft corner is to keep it organized. To help you on your road to a cleaner corner, we’ve listed a few of our favorite ways to organize your craft supplies here—check them out!
Organize by Color
Whether you have tons of fabrics or oodles of paints, you’ll want to organize your supplies by color. Not only will it please the eye, but it will also give you an easy way to find what you need. Show off the colorful craft supplies that you have and use them as a base for your color spectrum in the room. For example, if you have a bright red fabric, use that as a center for other red pieces you have, and then do the same for the other bright colors. If you’ve ever found yourself with craft room envy, recognize that the best rooms know how to work with colors, and then do your best to replicate that.
Pay Attention to Texture
If you’re a fabric hoarder, then there’s a high chance that you have tons of fabric all over the house. Get those together and organize them by texture. For example, have separate areas or bins for flannel, fleece, cotton, or lace. You could even organize them from smooth to rough in texture—it’s up to you and what makes the most personal sense. Our tip, however, is that you don’t forget what power playing with textures has in making your room feel a bit more put together.
Keep Similar Supplies Together
One of the best ways to organize your craft supplies is by keeping similar items together. This is one of the reasons why having a crafting section in your home makes keeping it clutter-free so easy. If you have all your supplies in different areas around the home, then you’re sure to be more stressed and possibly lose supplies that you just purchased. Make it easier on yourself and keep all of your supplies in one spot. If you can’t designate an entire room or corner, do you best to keep all your sewing supplies in one spot, your paints and brushes in another, and your knitting needles and yarn in another. Like sorting by color, keeping like supplies together will make it easier to find what you’re looking for!
Fold Your Fabrics
Whether you’re a quilter or a seamstress, then all of the fabric you have scattered around the house needs a designated area. For many people, fabric is the main thing that makes a mess of your craft supplies, so keeping it organized and neat is one of the best things you can do. It will also keep your fabric in better condition! Lucky for you, fabric is one of those items that looks beautiful no matter where or how you store it, so play around with what works best for you. The key to making fabric look good is folding. Make sure that all your fabric is folded neatly and uniformly so that no fabric stands out more than the other. Whether you keep them all in a clear bin, or wrap them around cardboard pieces, taking the time to truly organize your fabrics will bring color and order to your corner.
Use See-Through Storage
For beads, drawing tools, fabrics, ribbons, papers, and more, make sure to use see-through storage. Mini mason jars are a great choice for storing beads; just make sure that you use one container per type of bead—don’t mix and match. If you’re filled up on desk or wall space, you should also look up! Hang candy jars by their lids with magnets and fill them up with your most-used, little supplies, so that they’re always ready to use. In general, see-through storage will help you keep track of all of your supplies, so make sure that all of your storage options are easy to see.
Try Out Wire Shelves for Paints
For the painters out there, all your paints, brushes, and mediums need to have a special place that’s easy to access and will keep them in good condition. You don’t want your paints stored in a place that’s too hot or cold, and you don’t want to store them right-side-up. If you’re like most people, you buy new paint for each craft (even if you have something similar at home) which means paint is all over the place. We recommend hanging a wire shelf on the wall and storing your paints with the bottoms facing out. Organize them by color and size and you’ll add another lovely pop of color to your craft corner!
Use a Box for Ribbon and Twine
One of the most irritating things before you start a project is having to untangle and unravel the ribbon, twine, or yarn that you have to use. With the right tricks and storage, you’ll never have to do that again! For this trick, you don’t necessarily even need a clear box; all you need is one that you’re able to poke some holes through. Use a knife to make slits in a box or use grommets to give yourself little holes to slide the ribbon through. This way, you’ll be able to see the ribbon you want without opening the lid and without having to untangle it from another!
Label Everything
Okay, so maybe not everything—an overused label-maker just gets overwhelming. However, well-placed labels are the final touch that every craft stash needs. This should be the last thing you do when you’re organizing, as this is when you’ll actually know that the glitter will be in that bin and the cotton fabric in the other. There are tons of ways to label, from label-makers to chalkboard labels; just choose the ones that make you happy and will catch your eye when you’re looking for something.
We hope you enjoyed these fun ways to organize your craft supplies! If you’re ever running low or want to add more to your collection, turn to Lindley General Store for everything from Canada tatting supplies to fabrics, yarns, and patterns. Get quality supplies for your next project—you won’t regret it!







Comments