


The Beginner’s Guide to Sewing With Flannel

Flannel is a great fabric for winter. It retains heat well and keeps us cozy despite the falling temperatures outside. If you’re planning to make something for winter, such as a scarf or blanket, then flannel is an excellent choice of material. Unfortunately, it’s not always easy to sew with. Keep reading to learn about sewing with flannel in our beginner’s guide.
Types of Flannel
The first step in learning how to sew with flannel is understanding the two types of flannel. There’s cotton flannel and wool flannel. Cotton is softer and more common now, although originally, all flannel was wool. Wool is water-repellent, though, so if you’re making something to wear outside, you may want to choose wool flannel.
Both types of flannel have a loose weave, which creates air pockets that help retain heat. While retaining heat is the reason we love flannel, the loose weave frequently shrinks. When working with either type of flannel, you’ll need to prepare it ahead of time so that it doesn’t shrink after you make your creation.
Preparing Cotton Flannel
If you decide you want to use cotton flannel, you’ll need to prepare it for the sewing process before you start sewing. The first step of this process is prewashing. While some people don’t like prewashing their fabric, flannel is guaranteed to shrink, so you need to prewash it. You have two options for prewashing: doing so on a gentle cycle at a low temperature or doing so on a delicate cycle at a high temperature.
Prewashing on a gentle cycle at a low temperature will only shrink your fabric a little bit and prevent pilling during the drying process. However, the fabric may still shrink when you wash it again after you’ve finished your project. While the second shrinkage will probably be minor, it could still affect your project.
It’s better to prewash on a delicate cycle at a high temperature so that your flannel shrinks completely the first time. This way, you know your flannel is ready for the sewing process and won’t shrink more later. If you dry it on a gentle cycle, it shouldn’t pill.
After the cotton flannel is dry, press it with an iron. This helps the fabric keep its shape and remove wrinkles. Only use an iron to press the fabric; do not move the iron around on the fabric, as this can cause it to stretch.
Preparing Wool Flannel
Wool flannel has a different set of preparation rules than cotton flannel. Unlike cotton, you should not prewash wool flannel. Prewashing won’t help wool flannel shrink because the water doesn’t get hot enough. To shrink wool flannel before sewing with it, you should steam it instead. There are two ways you can steam wool flannel: with an iron/steamer or in a dryer.
Steaming wool flannel with an iron or steamer is an easy process. Turn your iron to the hottest steam setting possible, or set your steamer to the highest level possible and get out your wool flannel. Once the iron or steamer is ready, blow the steam onto the wool flannel. You can lay it across an ironing board and turn the fabric over to steam both sides with the iron or hang the fabric up to easily steam both sides with your steamer. Steam until the fabric shrinks and there are no wrinkles.
If you don’t have an iron or steamer that will work, you can steam your wool in a dryer. Find a bath towel of the appropriate size for the fabric you want to wash and wet the towel. It’s best to use warm water, but you can use cold water. Wrap the wool flannel in the wet towel and place it in your dryer. Set the dryer to high heat and let it run. The combination of the damp towel and hot environment should shrink the fabric.
After you’ve steamed the fabric, you can dry it if you want. Set the dryer to tumble on a sensitive cycle so it doesn’t stretch. However, since the wool flannel has already been in the dryer, it may not need further drying. Feel the fabric and decide whether you want to dry it or not.
Like cotton flannel, you’ll need to press your wool flannel next. The steps are the same: press the flannel, and do not move the iron on top of it. This will make it stretch, which you don’t want.
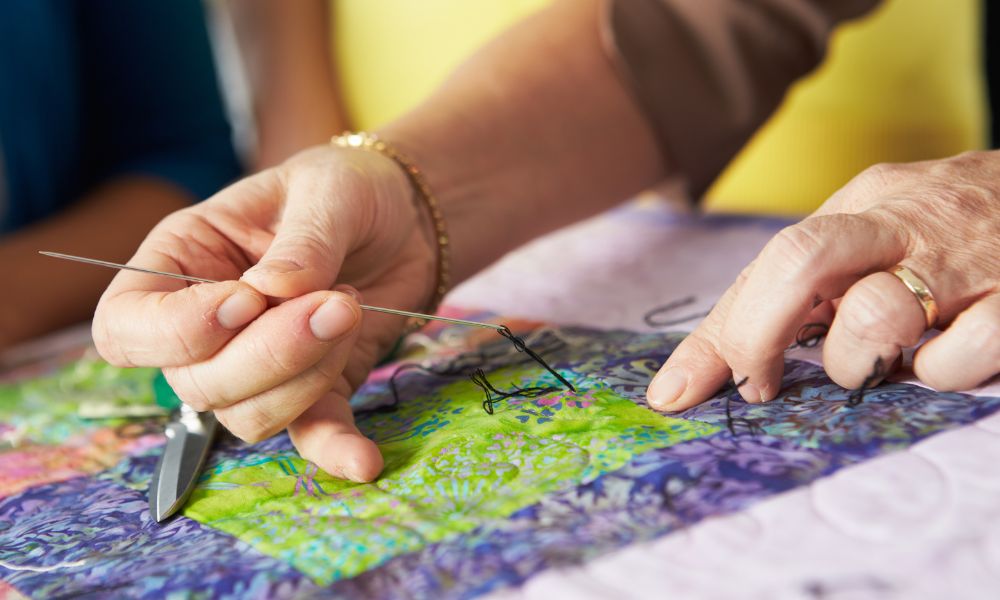
Sewing with Flannel
Once you’ve prepared your flannel, the sewing process is easy. You can sew flannel with a machine or by hand, but since it’s thicker than other fabrics, we suggest a machine. Use a strong needle, like you would use to sew denim, to make sure the stitches go through the fabric completely. Make longer stitches since shorter stitches can stretch the flannel. Longer stitches will also help accommodate your needle.
Flannel fabrics tend to fray at the edges, so leave wider seams than you might when sewing with other fabrics. This fraying can also dirty up your sewing machine and cause a lot of lint buildup, so make sure you clean your machine well after sewing with flannel. Even if you’re planning to sew with more flannel the next time you use your machine, you don’t want frayed pieces and lint buildup to hurt your machine. Clean the machine as soon as you’re done with the flannel for your current project.
Flannel Sewing Projects
If you like the idea of sewing with flannel but aren’t sure what you want to make, we have some ideas to help you. Flannel is a cozy fabric, making it ideal for autumn and winter projects. Consider making vests, scarves, and gloves with wool flannel since that type of flannel is water-resistant. You can make hats with wool or cotton flannel, but the natural heat-retaining properties can cause static electricity, which can make people’s hair stand up. Cotton flannel is extremely soft, so consider using it to make blankets, pajamas, robes, baby items, and towels.
Our beginner’s guide to sewing with flannel covers everything from how to prepare your fabric to project ideas, so you’re prepared for every step of the creation process. If you need flannel fabric or any other kind of fabric, our Canadian fabric shop is happy to help you find the right materials. Browse our online store to find whatever you need to get started.


Comments